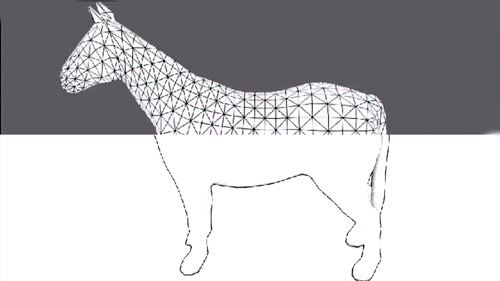
this image is computer generated, modeled in about 10 minutes. from a tutorial in → my youtube channel about computer animation.
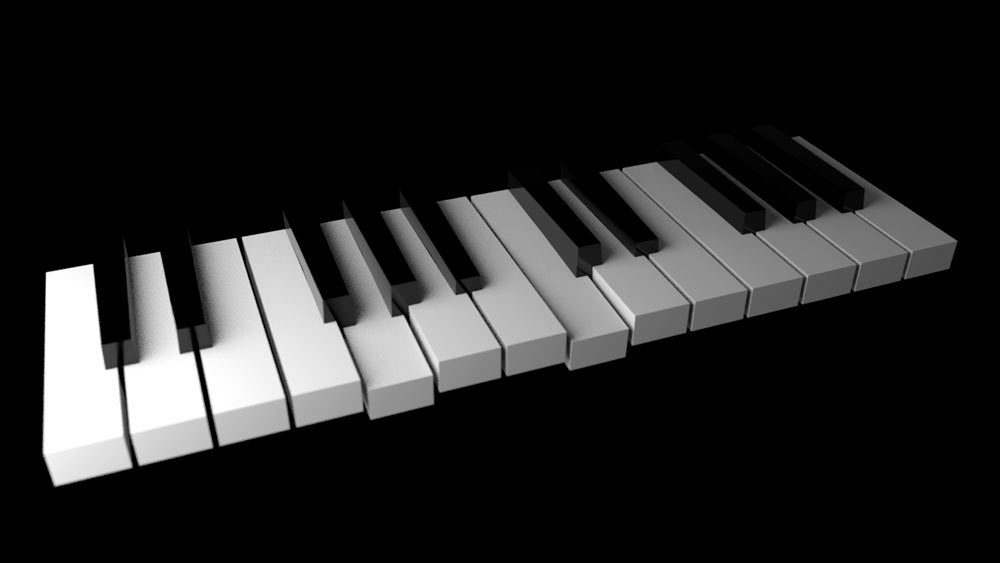
this image is computer generated, modeled in about 10 minutes. from a tutorial in → my youtube channel about computer animation.
fundamental in der 3D computeranimation ist der unterschied zwischen einer 2D-textur, die quasi digital auf das 3D-objekt aufgeklebt wird, und einer 3D-textur, die einer projektion ähnelt; dabei lässt sich der effekt erzielen, das objekt durch die textur schwimmen zu lassen.


v-ray is a piece of software which renders computer generated 3D scenes in high quality with or without photorealism. it’s one of a handful high-end tools for this purpose. i’m familiar with another rendering software, → arnold, which has been integrated in the 3D computer animation package → maya. lots of my → tutorials in 3D involve arnold.

i installed the tryout version of → v-ray next the other day and did some preliminary tests. the scene above for example can be rendered in a short time with depth of field and other real camera properties such as ISO, shutter speed, bokeh and vignette. see the image below.
i have too little experience with this tool, so this is not a review. v-ray is well known in the industry and delivers excellent results. no doubt about that. i just want to point out two problematic things:
a) at one point i was not able to render a sequence of images – because my PC was offline. bugging me every moment when i launch a rendering job to go online in order to see if i have a valid license is a bit over the top. data privacy, friends!
b) the icons which come with the installment are, sorry to say this, terrible. below you see the main icon row in the maya shelf. they don’t stick to a colour space, they are not self explanatory. they beam me back to 1993 when the first browsers appeared, with more or less unuseable icons. i do not know why the chaos group who programmed v-ray spent so little time thinking about the importance of icons.
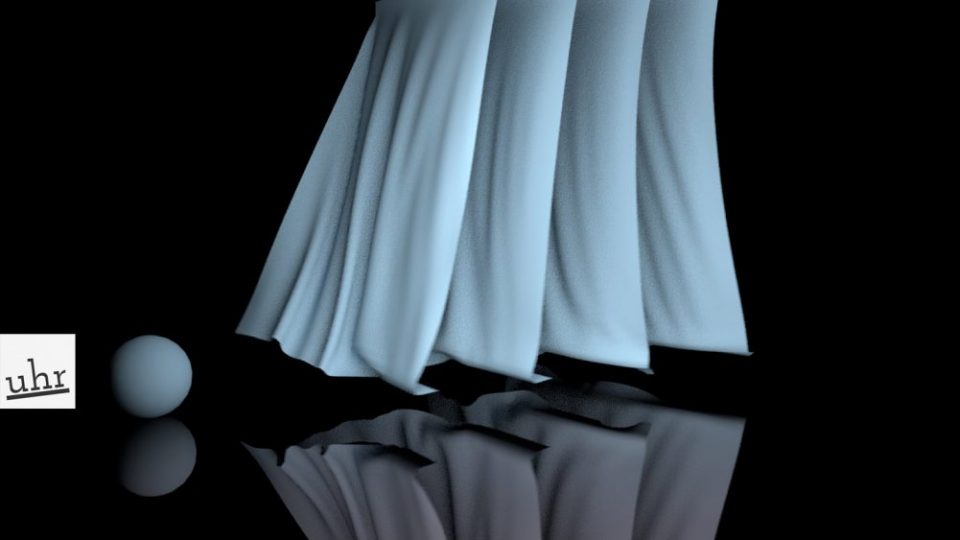
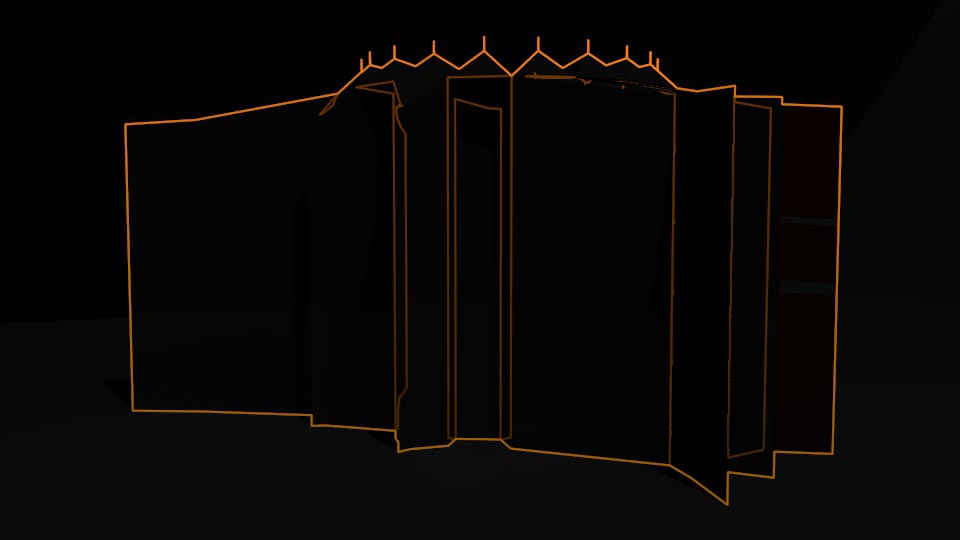
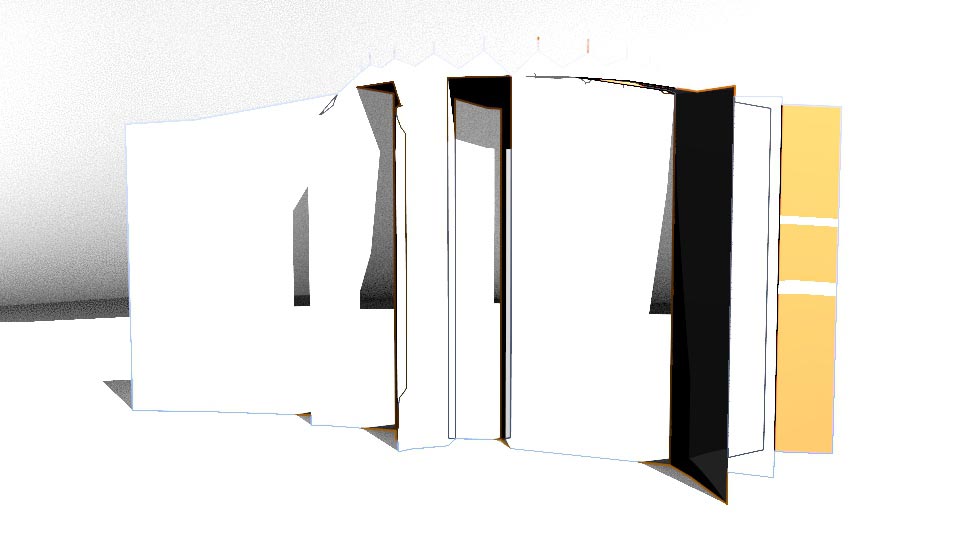
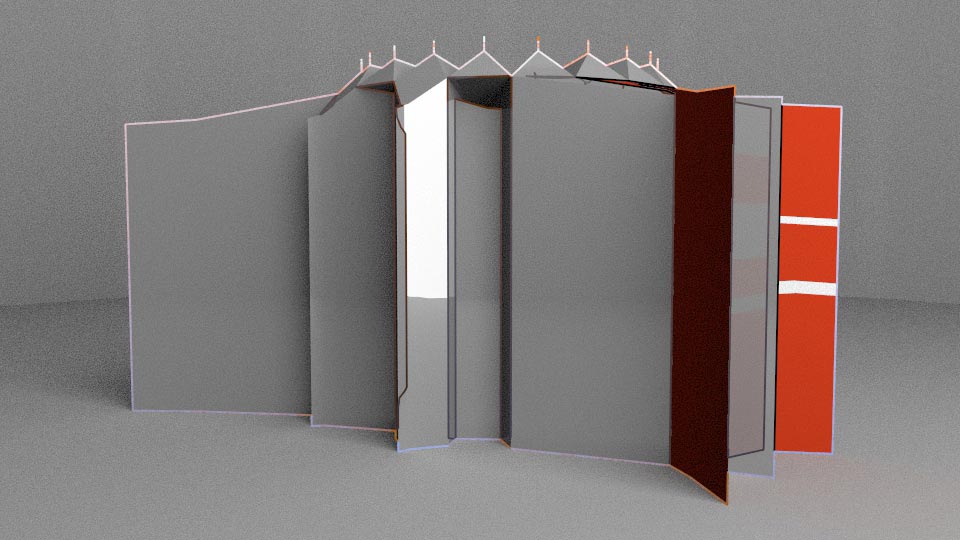
from → this tutorial about cloth simulation
for the tutorial the ball at the very left is not important at all. i introduced it because i wanted to „ground“ the reflections of the four curtains. without the sphere in the scene the floor would have been not as obvious as it is now.
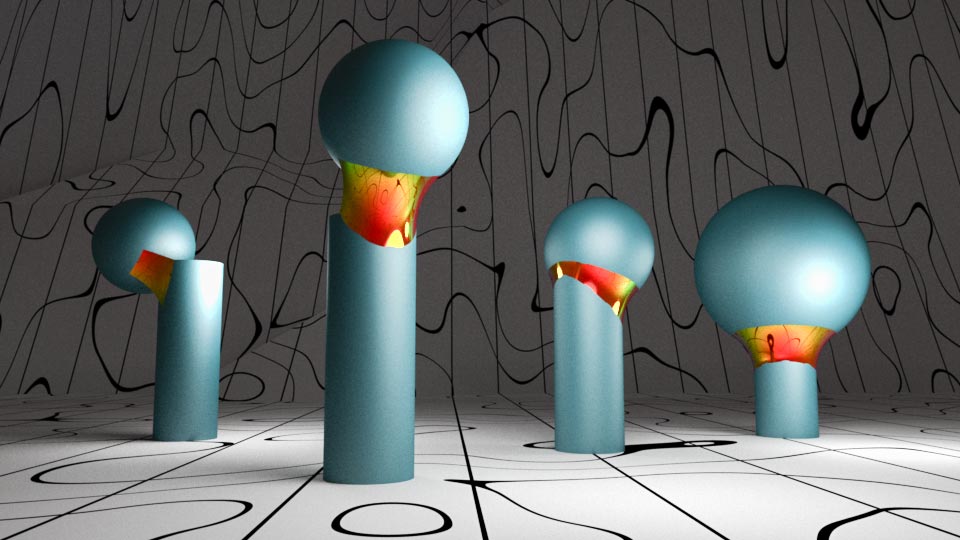
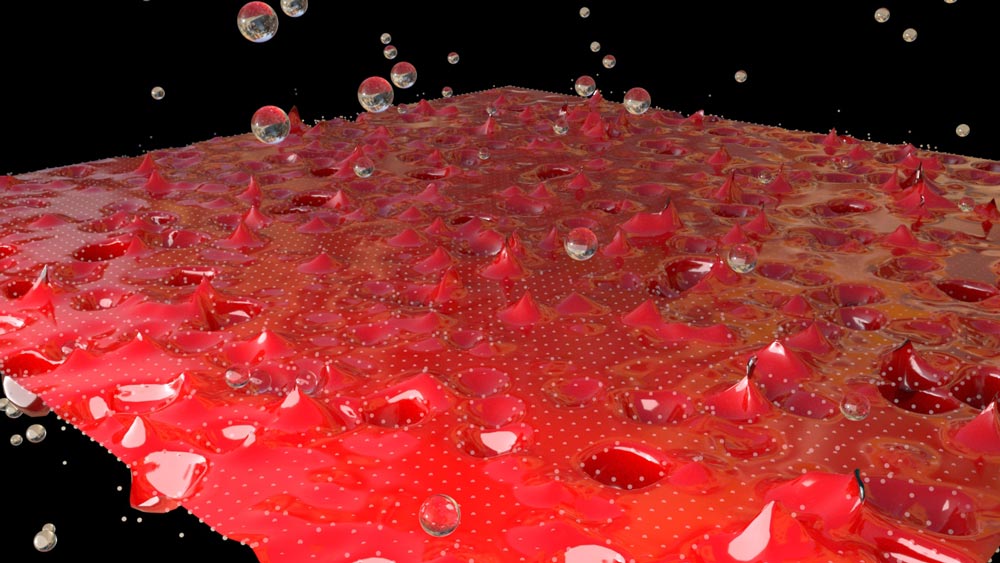
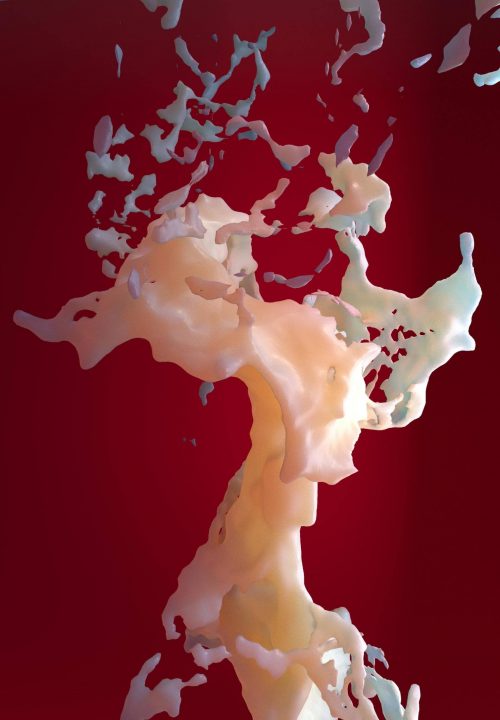
from→ a tutorial about volume rendering
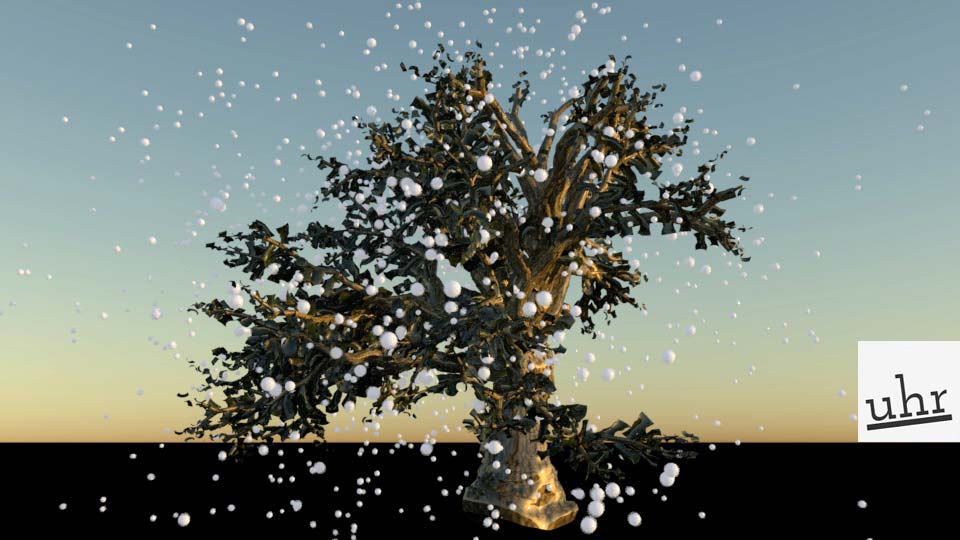
i like to create → tutorials where i reach sweet results within just a few minutes. like this tree where the leaves evaporate white particles.
i’ve known pixar renderman since ca. 2005 when it first came out as a plug-in for (then) alias|wavefront maya. at that time it was the king for soft lighting, less technical than mental ray, with often unrealistic but beautiful results.
over the years i lost contact, and in recent months the → arnold renderer by the spanish programmers from solid angle served all my needs. it is just an amazing tool for lighting, texturing and rendering.
renderman is a direct competitor, and this is my first attempt to use it for a maya scene about → NURBS modeling. i’m quite impressed. the scene has a global and three local light sources. the NURBS fillets are depicted as highly reflective. nice, and not hard to set up.
das fiel mir gestern dazu ein. irrsinnig komplex in einer alten version der 3D software modelliert und in einer nacht gerendert. allerdings auch sehr groß, nämlich 10.000 pixel breit. das entspricht im ausdruck auf leinwand etwa DIN A0, also etwa einem meter breite.
computer gamers would love this. it’s a very versatile house, made in 3D, of course. you can enter from different sides and angles, but you cannot use the same entry points for exiting the house. i won’t show it here. i’ll only show how versatile the house can be from the outside. technically i used Maya 2018, the prosets plug-in for 1 minute modeling of a cylinder, a toon shader and two lights.
the house in black with orange
the house in white with some yellow
the house in grey and some red

sobering view
nach oben, von oben
i run a youtube channel, free of charge, about computer animation. since the channel reached a critical amount of subscribers, every new tutorial i upload receives one (and in most cases only one) negative review by a thumb pointing down. since that happens typically only few minutes after publication of the video, i guess it’s a bot at work. but what kind of bot, and to what purpose?

thumbs down within minutes
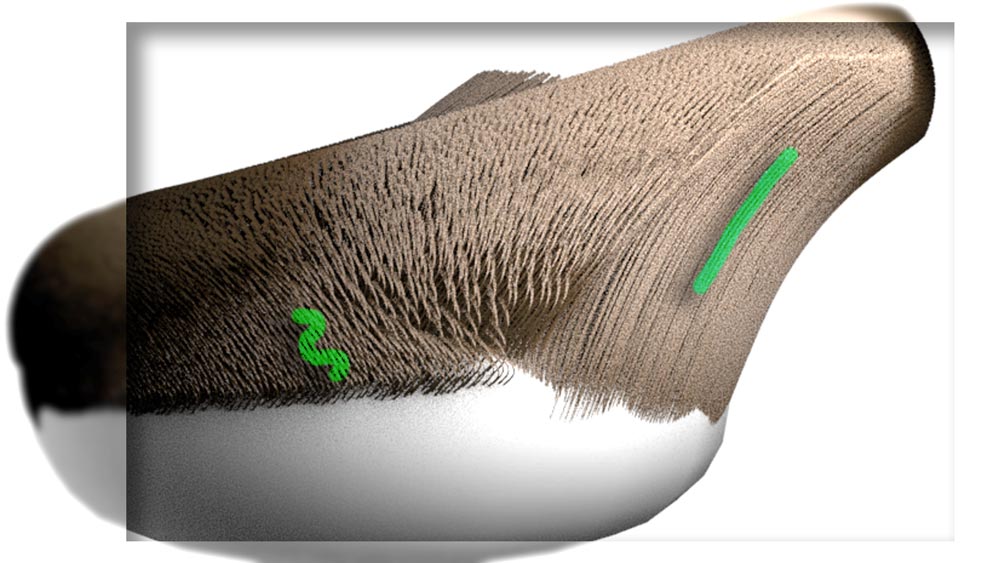
from an upcoming tutorial in my youtube channel:
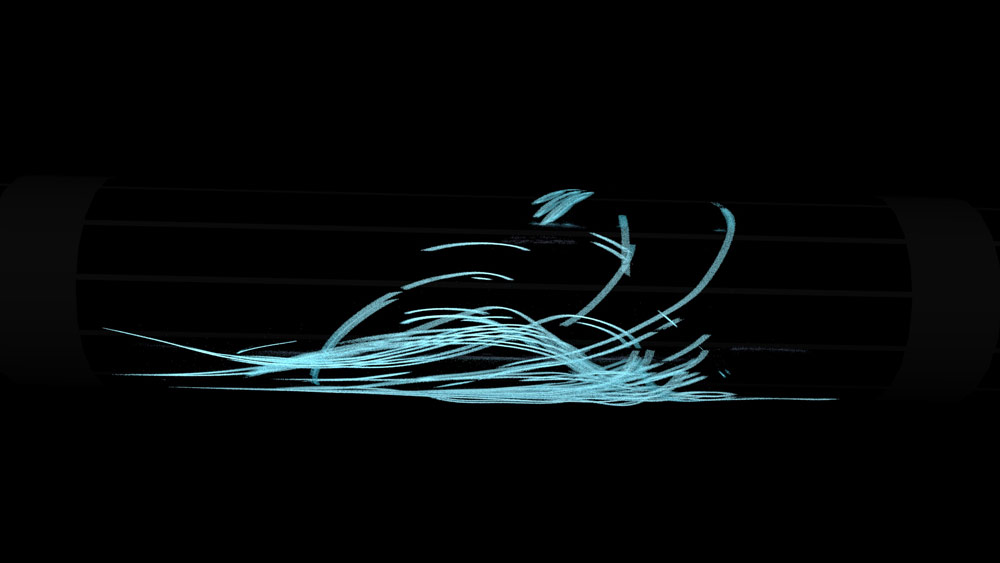
shooting follicles through a tube
→ here’s the tutorial for this.

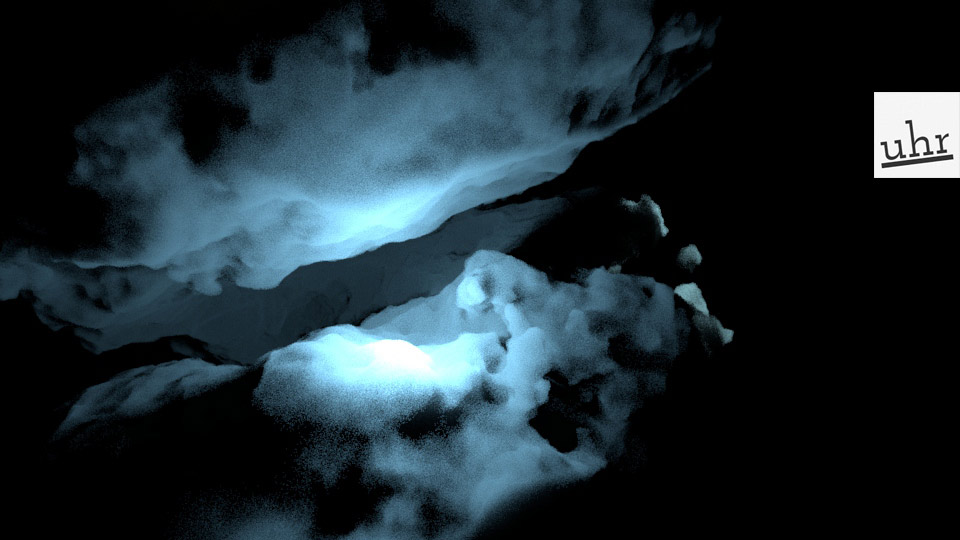
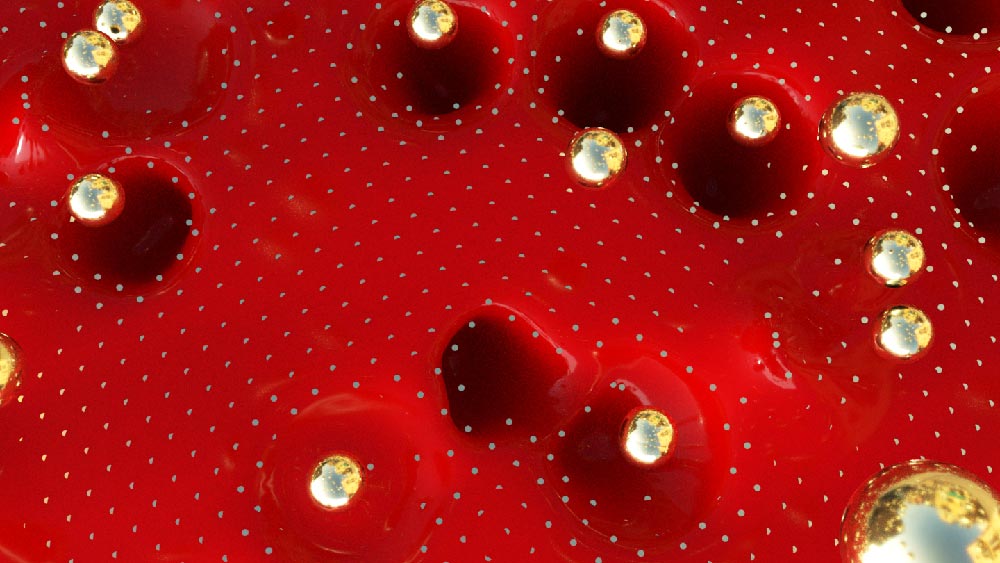
flakes under the surface. © ms
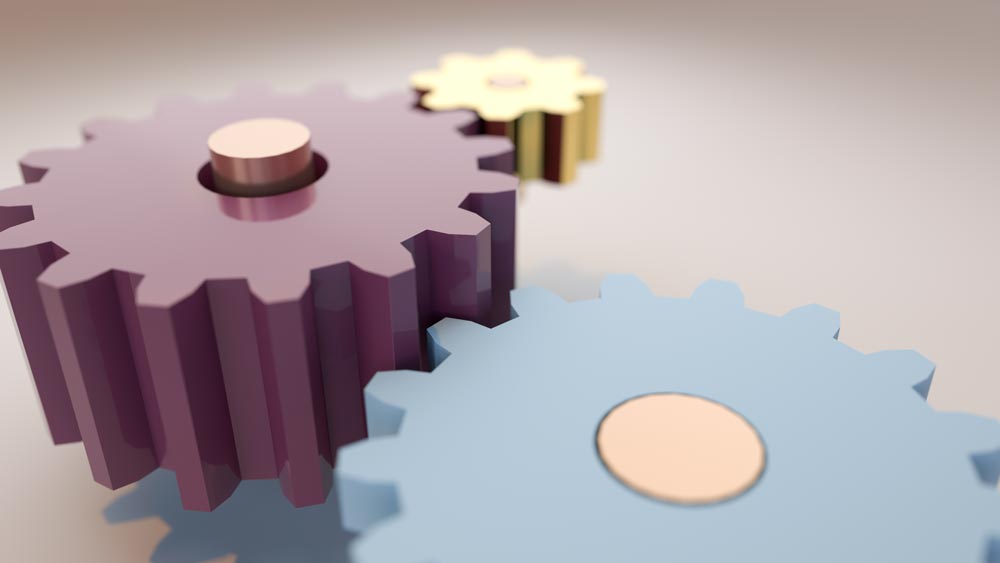
interesting word, GEAR. usually it has no plural. „packed all your gear, hombre?“ but in mechanics, it does. i hope i am not mistaken. enjoy the rendering. the original is 9000 pixels wide.
© ms/dpa
this horse was an „accident“, at least not planned in any way. initially i wanted to model a small, almost cubic room with subtle deformations of all three visible walls. then i thought, nice, let’s cut out some windows. after having done this (a matter of seconds), i needed a light, a light from the back, a strong light from the back, a light with so-called „god rays“. well, then only one thing was missing: a 3D object. i picked the default horse (from maya’s built-in library of 3D meshes) and coloured it red. didn’t look good. blue? yep. the rendering at the very bottom has a slight overdose of depth of field (DOF). nevertheless, quite cool.
the whole work was done in maya 4, which still sits in my computer. i imported it later to the current version for the screenshots.

blue horse in a box. © ms
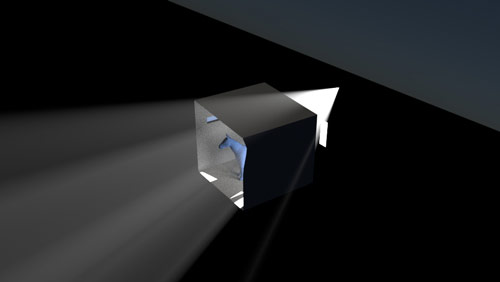
the 3D scene

same scene, thin focus plane and an extra in the left window.
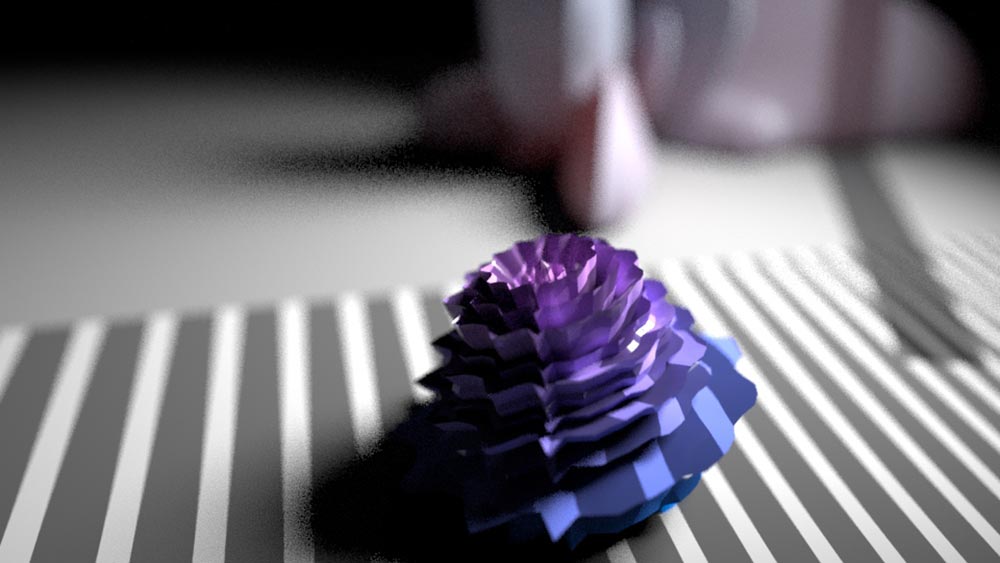
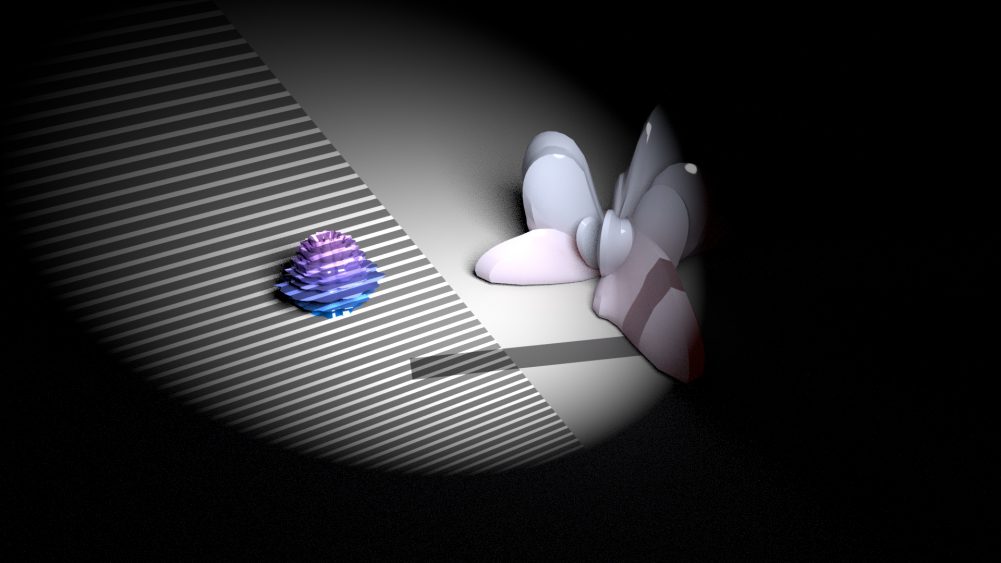
spotlight filters, from ➡️ this tutorial. bottom: scene with two filters, top: rendered with DOF
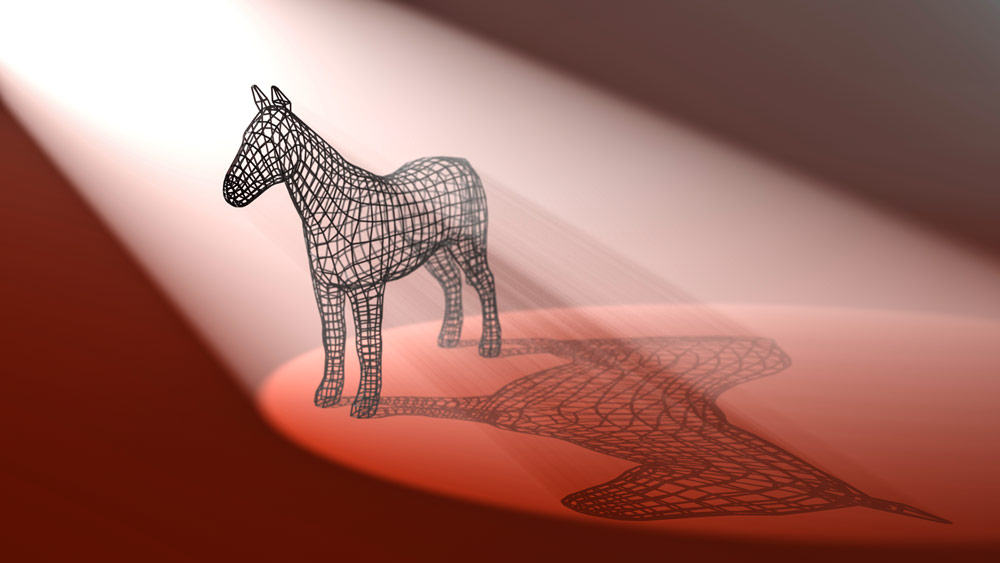
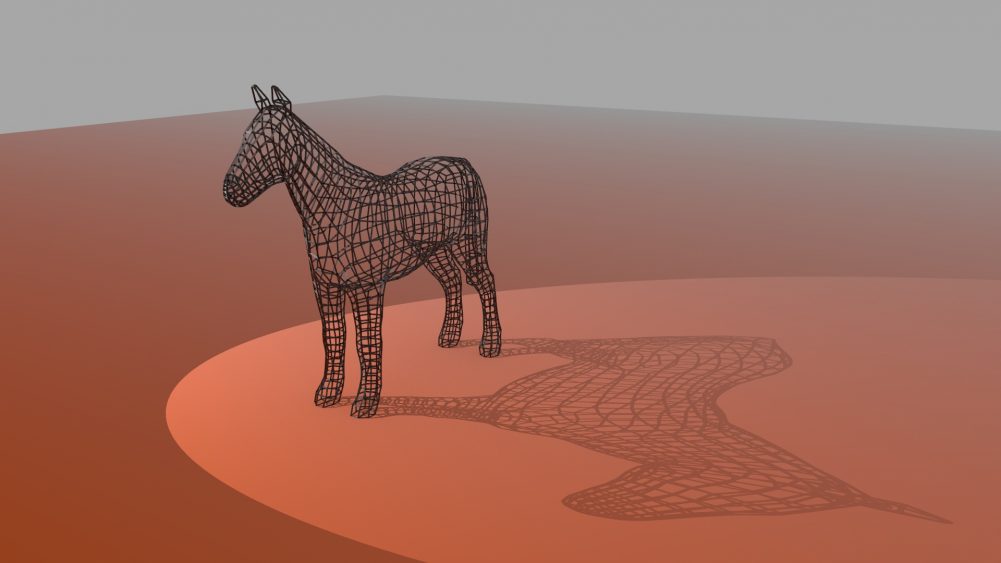
wired horse. © ms
the rendering above is how it ended. it involves some atmospheric light distribution and a tiny breeze of depth of field. the focus plane is where the horse’s eyes would be, and this works nicely together with the wireframe shadow. the light sends what is called „god rays“ through the wired horse. the next images show different approaches with, at the bottom, an intermediate result. once i had that image, it was only a matter of minutes to refine it for the final rendering. the model of the horse, btw, is from → maya’s built-in library of 3D objects.
two different approaches. wireframe and toon rendering
end of the wiring and test-rendering phase