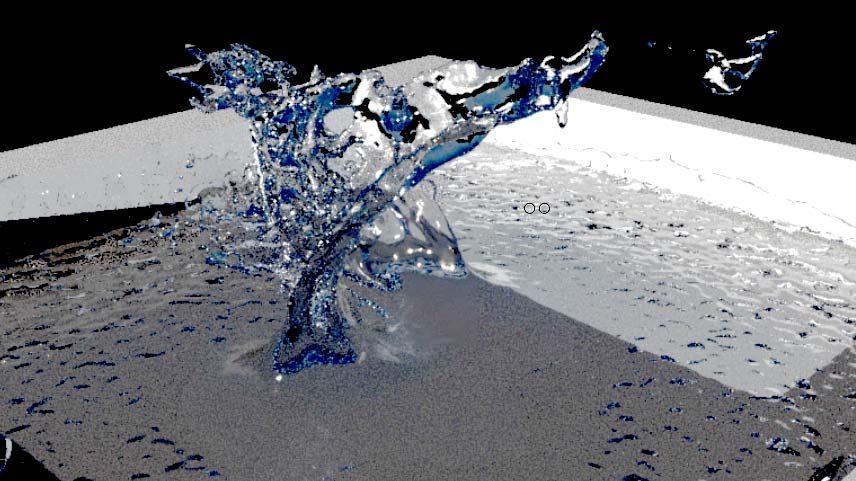
a splash of water, using bifröst in maya. see → this tutorial
a splash of water, using bifröst in maya. see → this tutorial
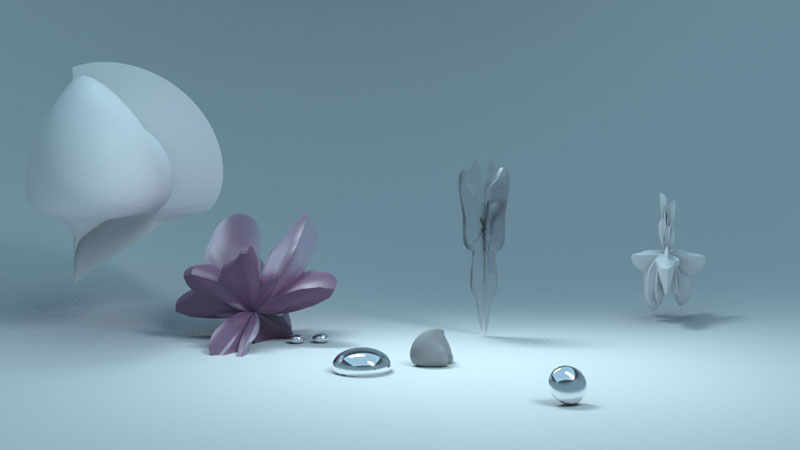
supershape goes proSet
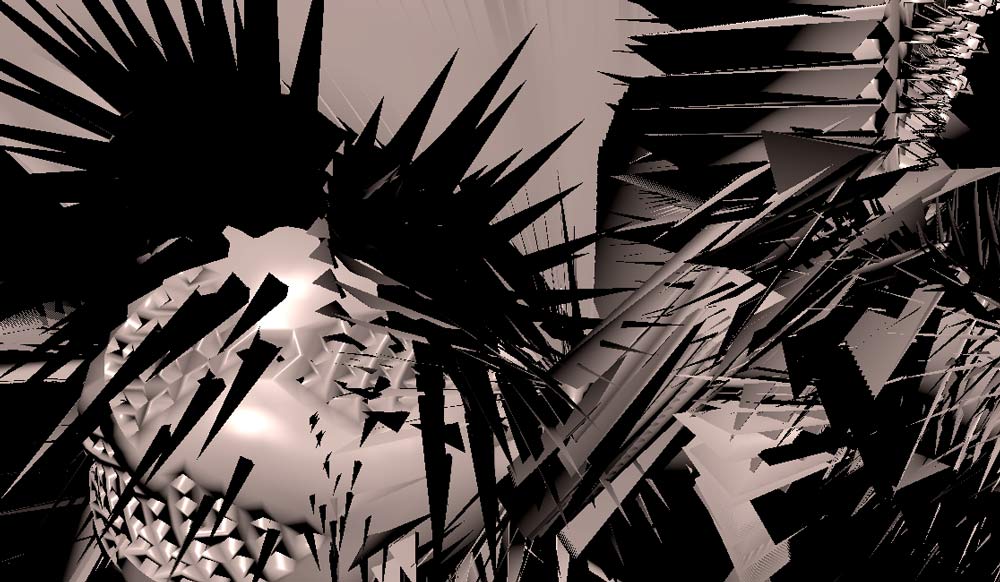
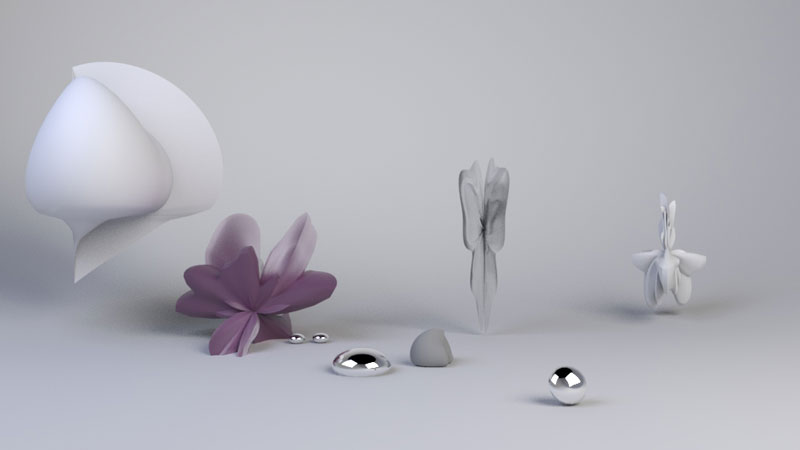
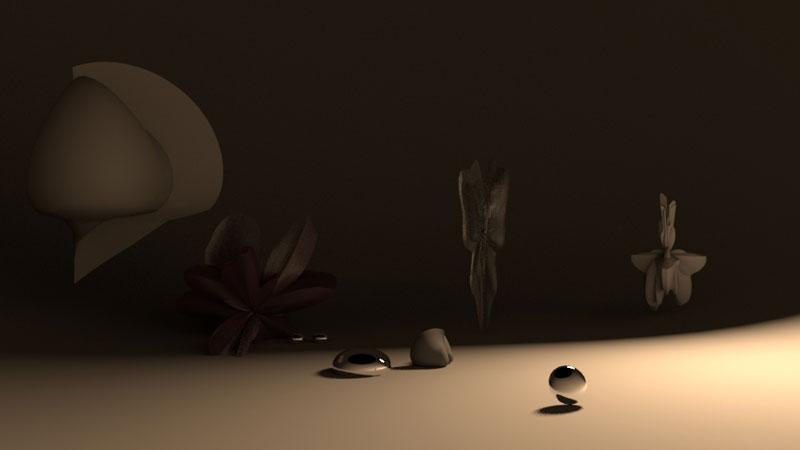
→ mainframe north is the developer of MASH for → Maya and, recently, independent from Maya, of the → proSets plugin. proSet takes one miniture manupulation you do to a polygon mesh and applies it to lots and lots of similar components of the same object. in the example below, which took ages to render, you see a so called superharmonics object, which by itself looks nice, but not very complex. i then applied two extrusions to two different vertices (=points on the object), one poking out and one pushing in. then i created a proSet for each of the two, played with the settings, especially random settings and logical conditions.
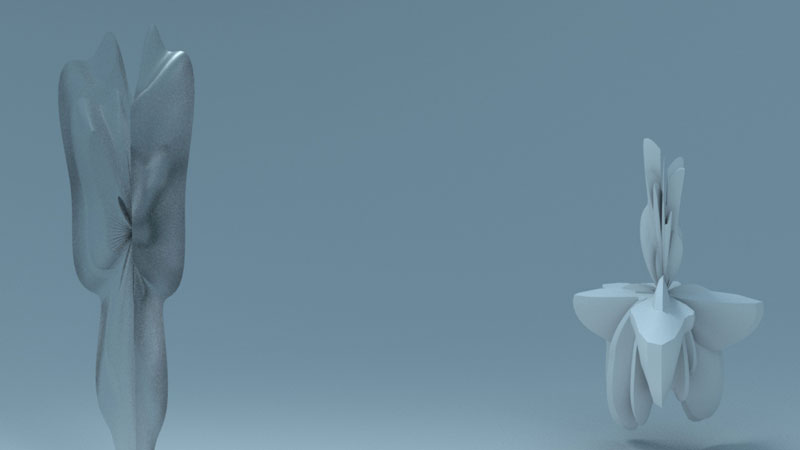
supershape with proSet 1, highly transparent
detail
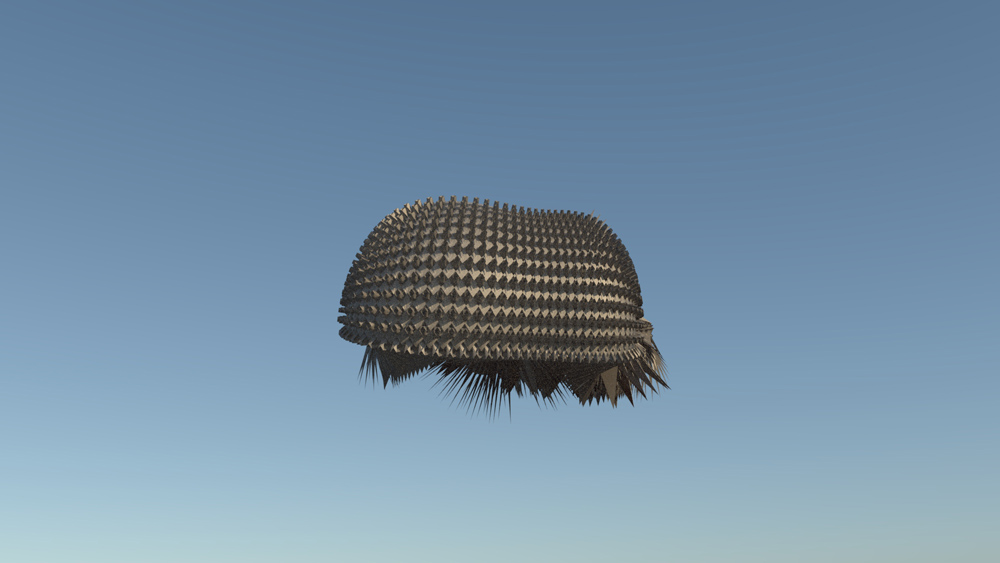
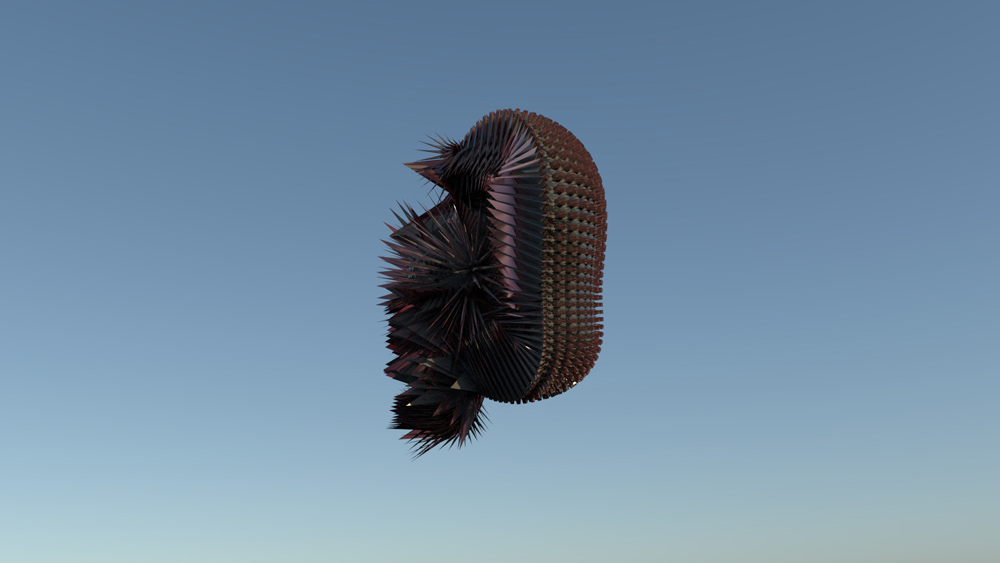
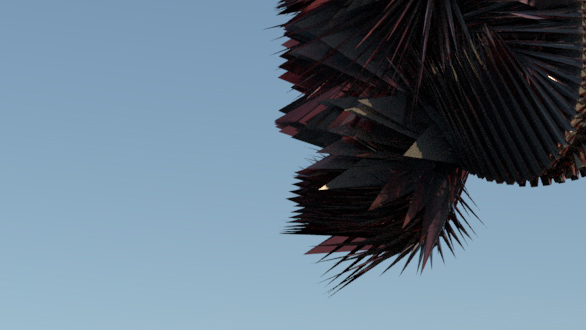
supershape with proSet 2, opaque, with a metal tint
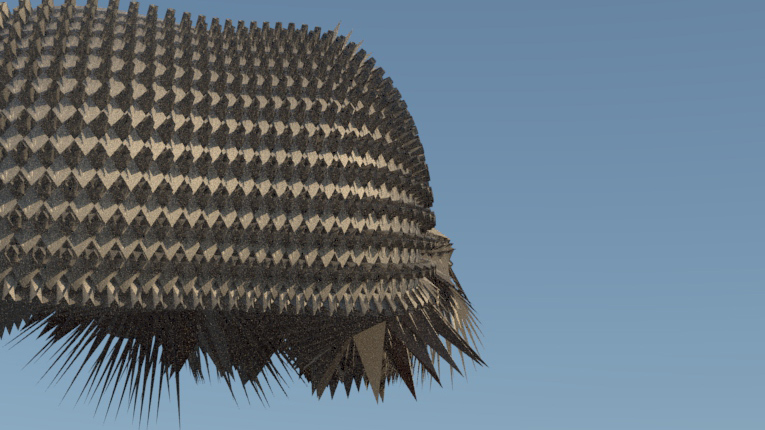
detail of the above
the renderings above, done in solid angle arnold, have only a single light source, namely a physical sky. no post processing in photoshop.
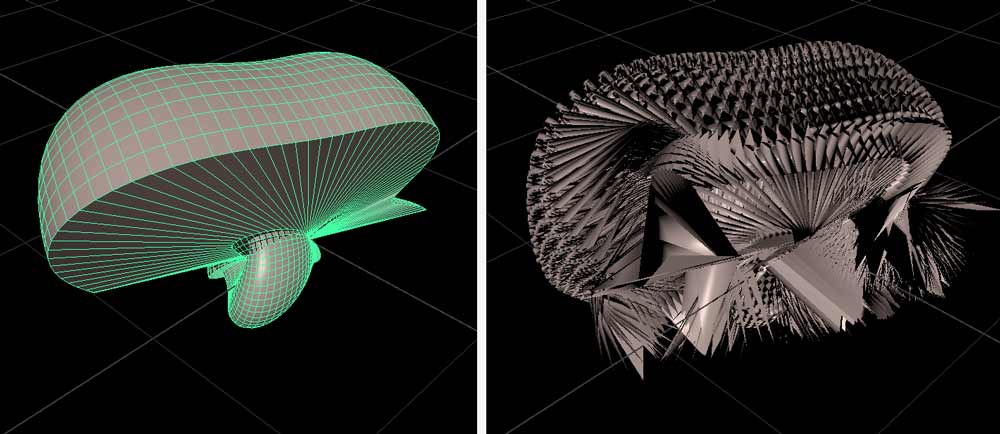
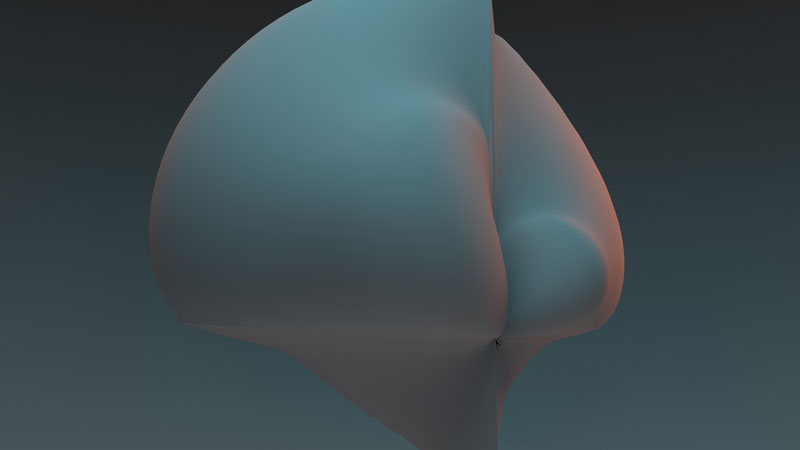
left: original supershape. right: proSets at work.
the plugin is certainly worth its few british pounds when you want to create extremely complex objects from simple things. the result is in many cases not precisely predictable, but who wants total control ,-)
for an introductory tutorial about this technique see → this video in my youtube channel.
complex procedure with fine result
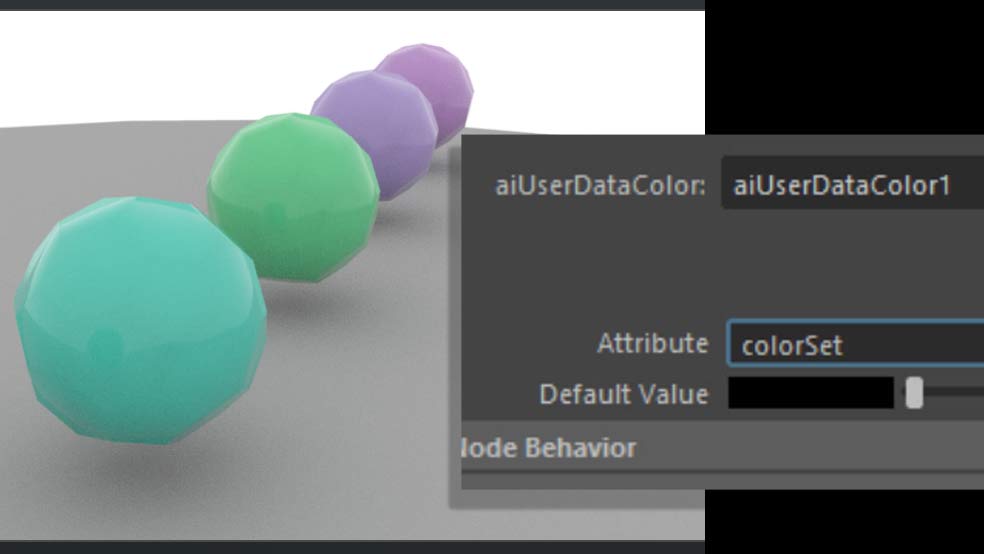
this procedure is related to the problem of rendering Maya MASH Color node colours using Arnold. the workaround is complicated. pls don’t blame me. the tutorial where i demonstrate this is → here.
ian waters demonstrates the same procedure → here. he also pointed me to this tutorial of his which has nothing to do with the MASH Color Node, however: see → here.
from ➡️ this tutorial

dynamic simualtion from → this tutorial
from → this tutorial

today 500 subscribers
more about → this discovery later. it’s basically a 3D scene with nothing but a pipe and several lights and cameras. you switch them on and off. i created mainly superellipse objects for these test renderings. each image took about 15 minutes to render using → arnold in → maya 2018.
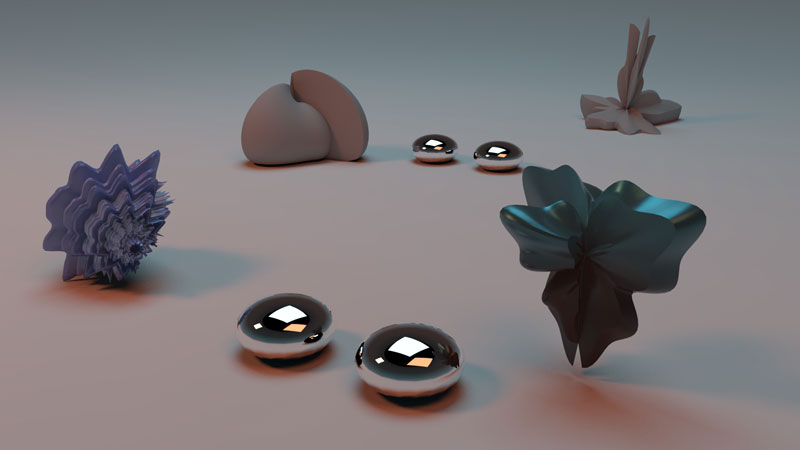
test rendering with 32bitstudio intro light and some „super“ objects
details from the above arnold rendering
second test rendering, same light
more or less the same objects, soft diffuse light setting
same scene, different light setup
another lighting setting for the same scene
detail from the picture above. took 19 minutes to render.