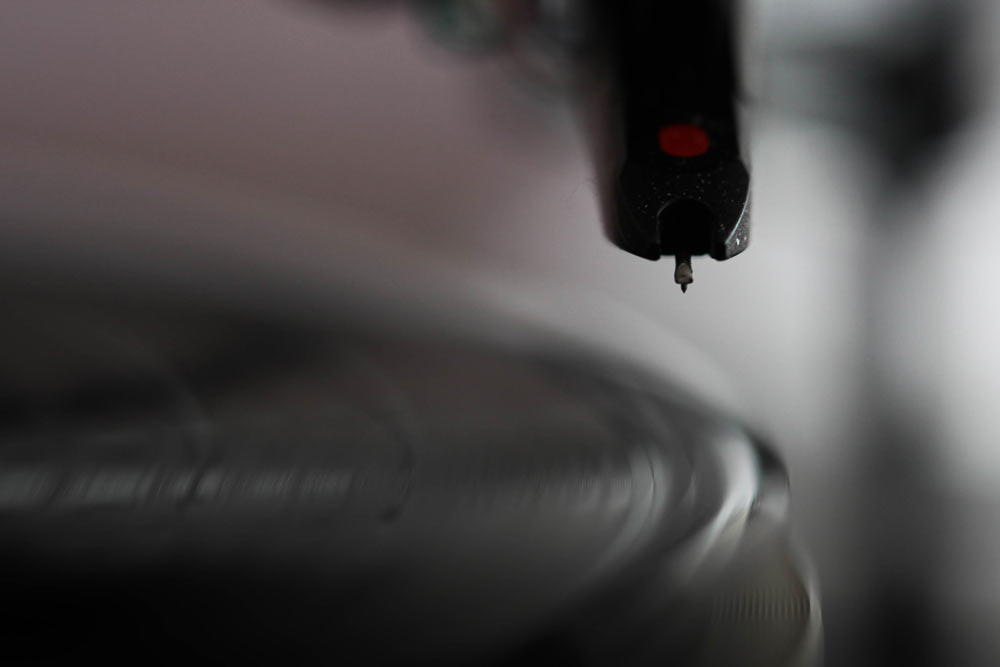
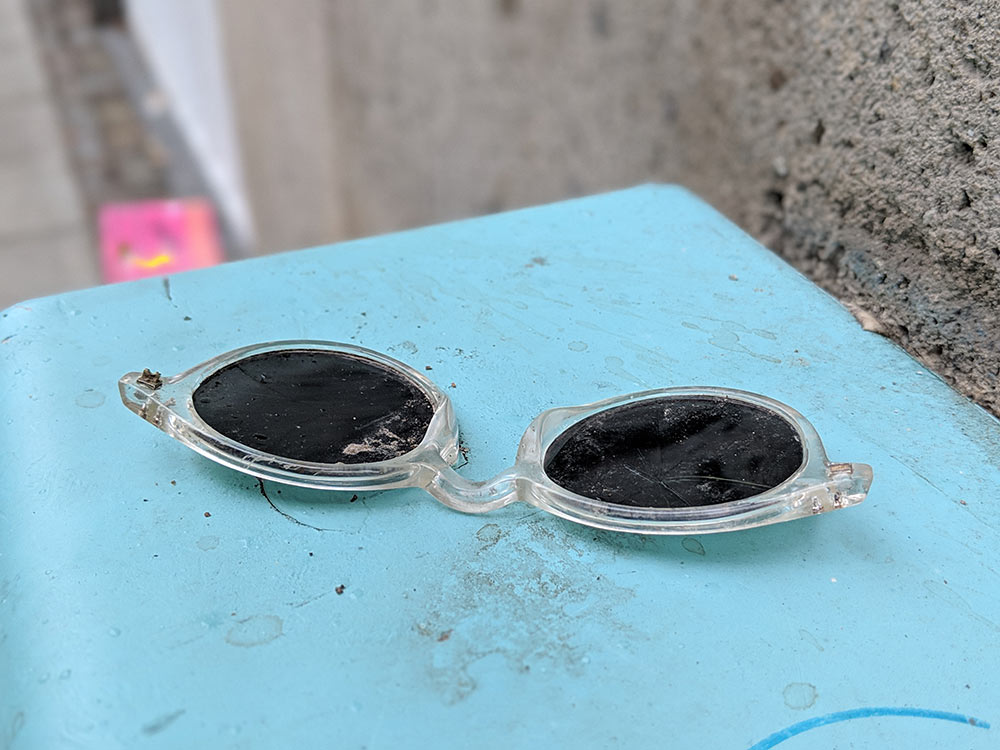
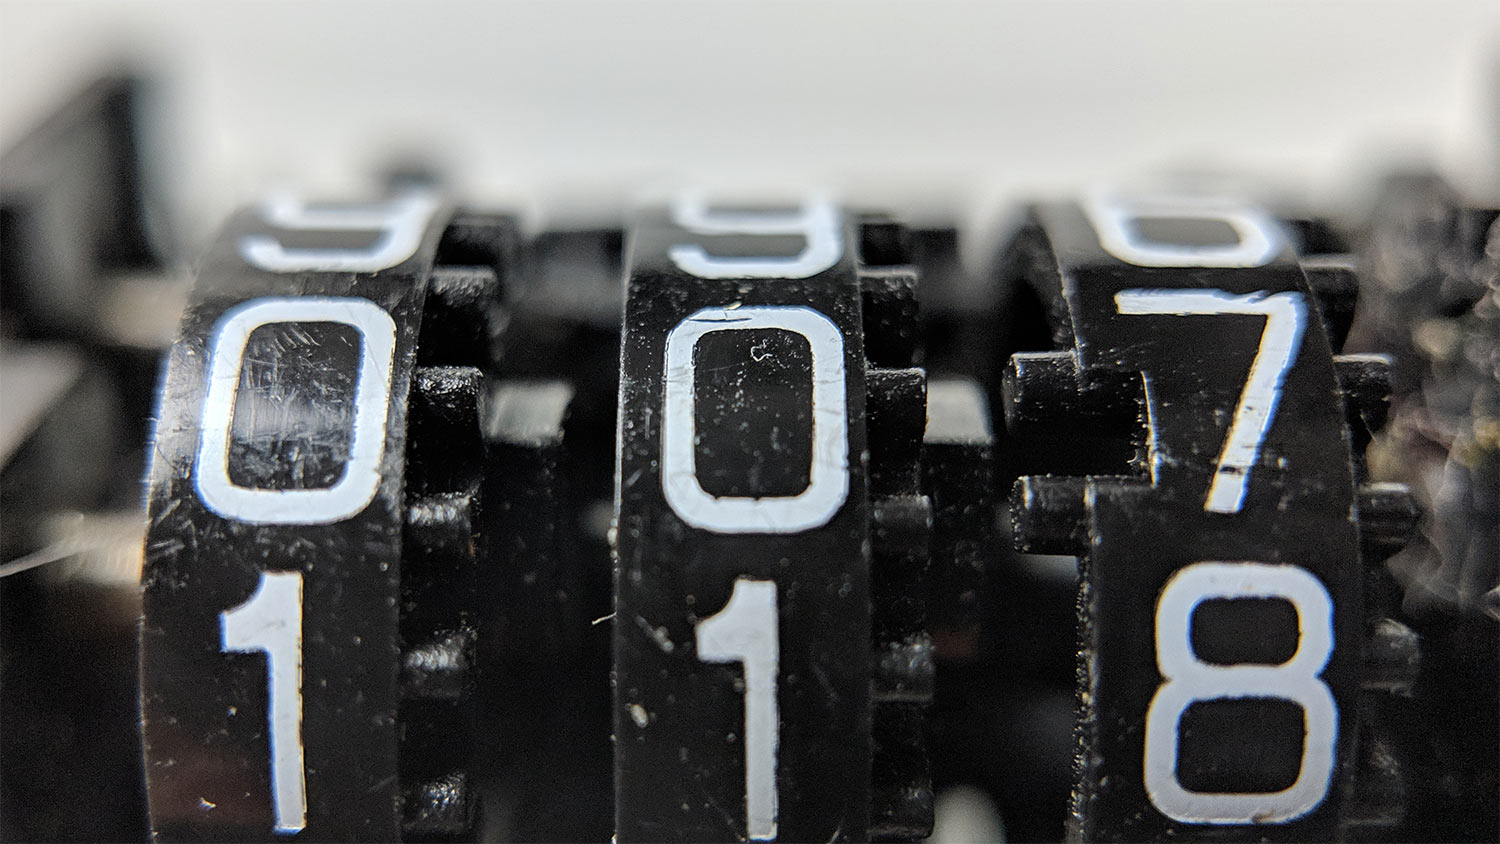
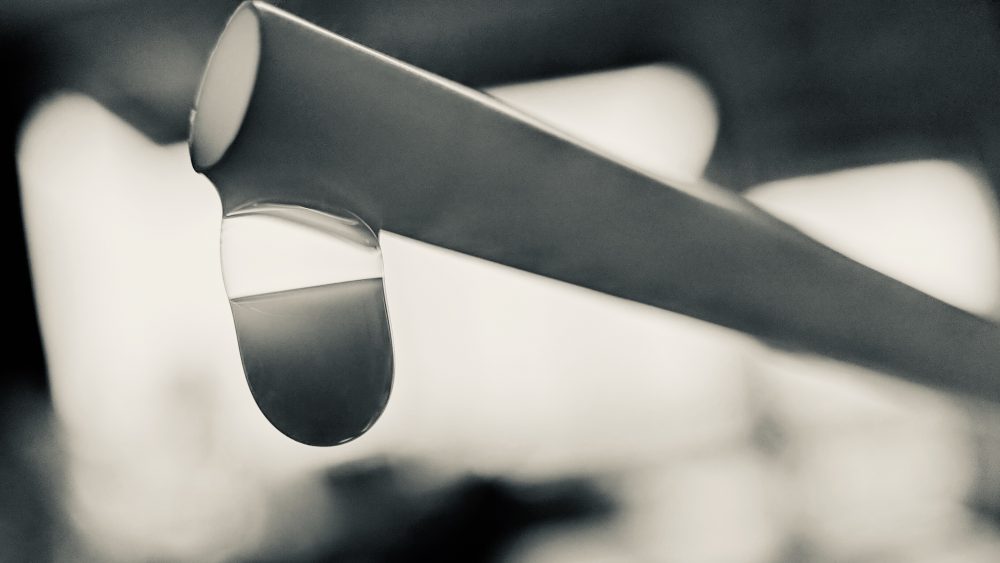
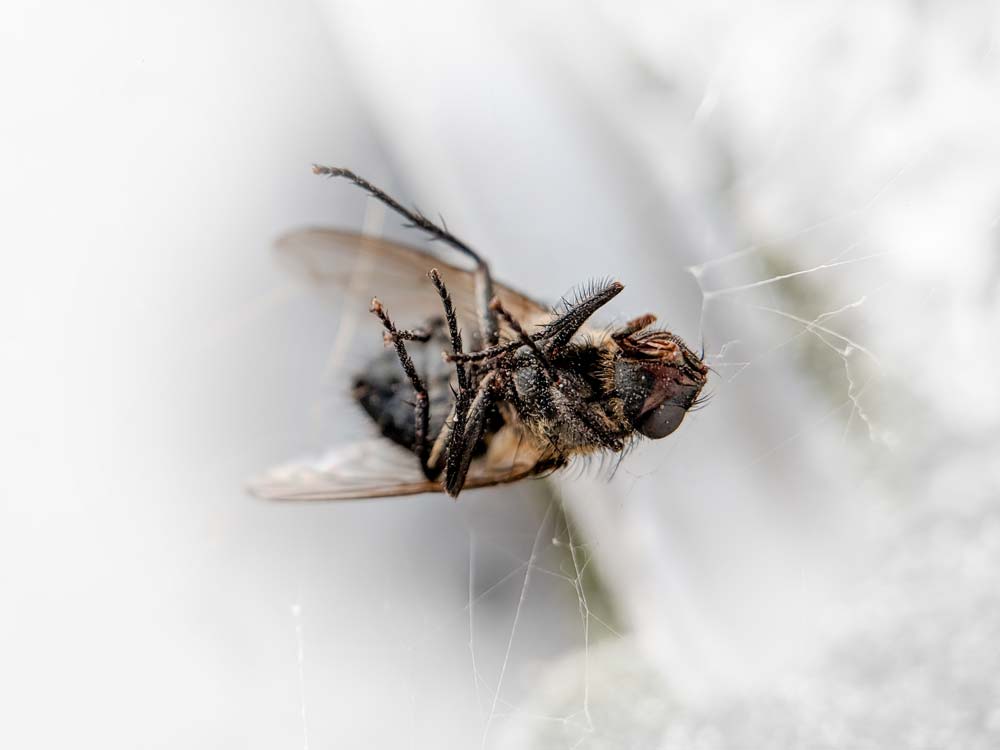
the first photo was taken with my canon full format sensor DSLR and the canon 100 mm macro lens, 1:2.8. the camera was on a tripod, and i could, of course, choose the aperture and speed.
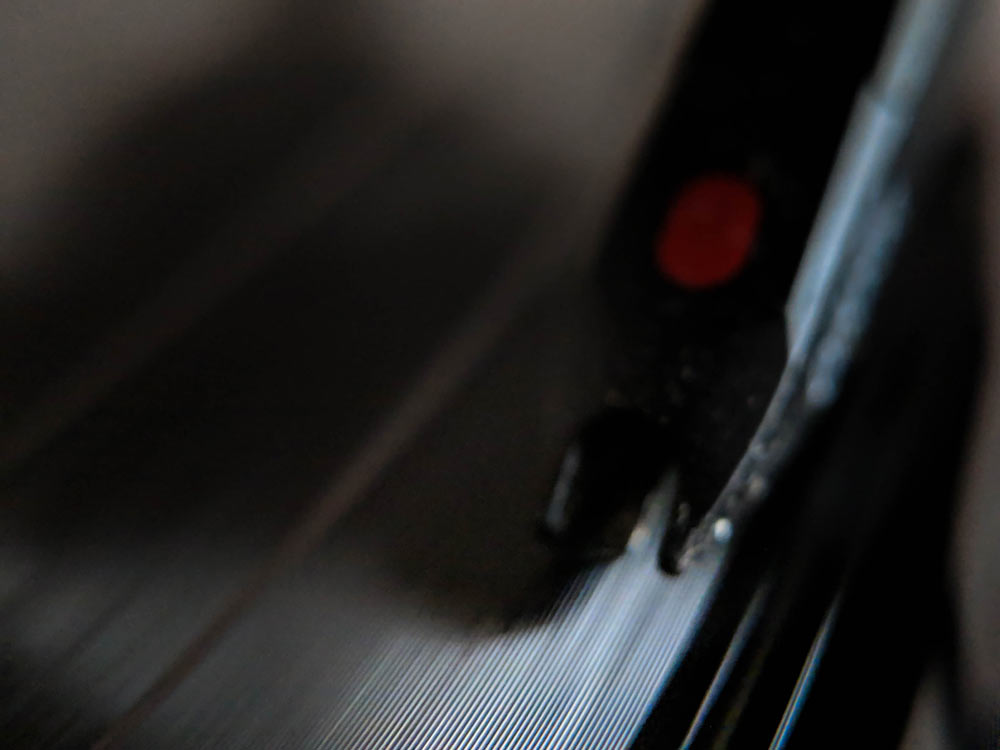
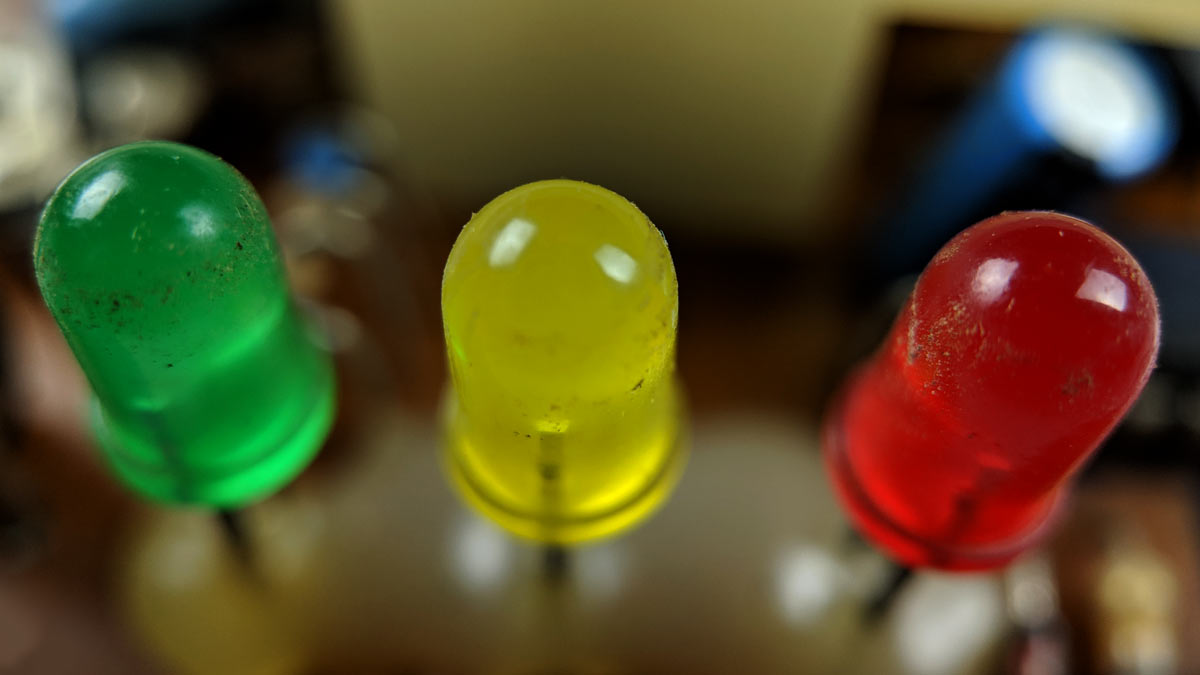
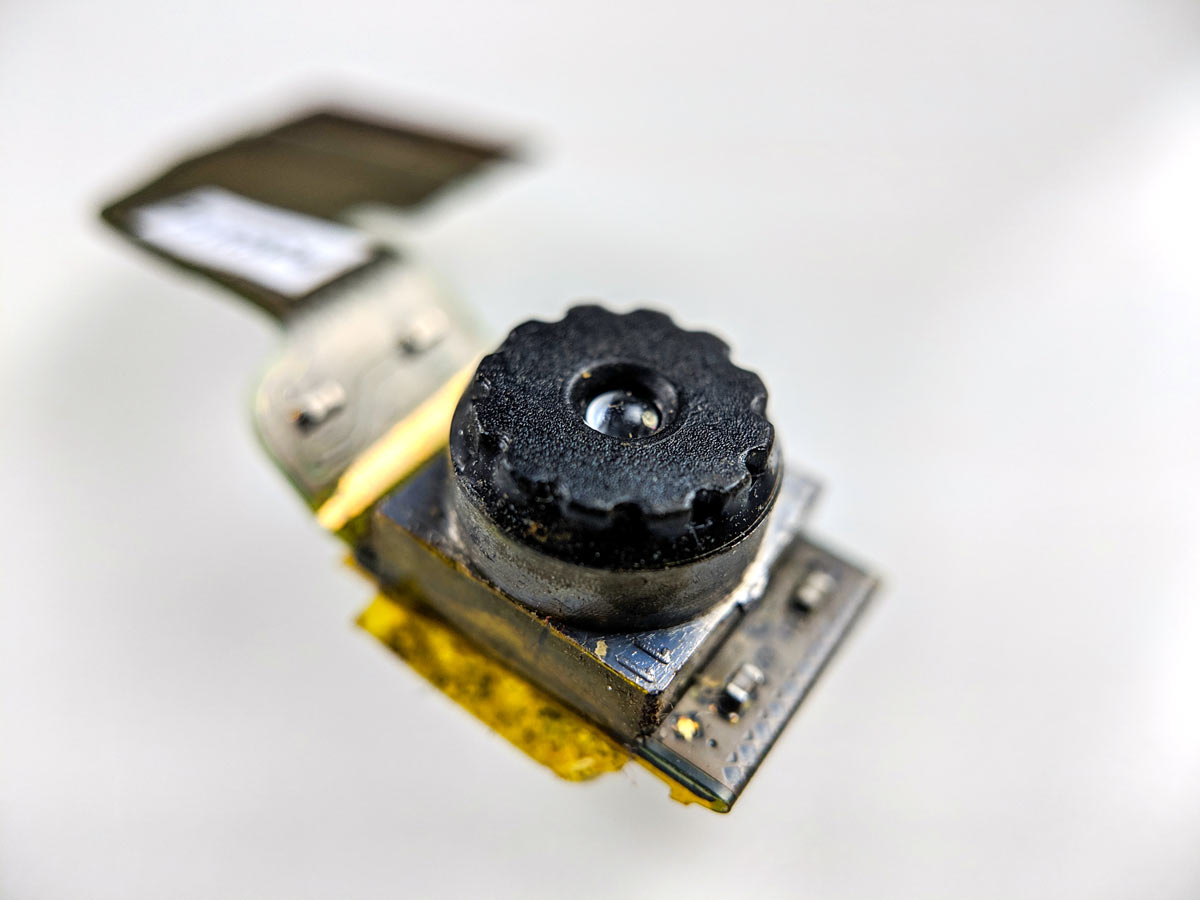
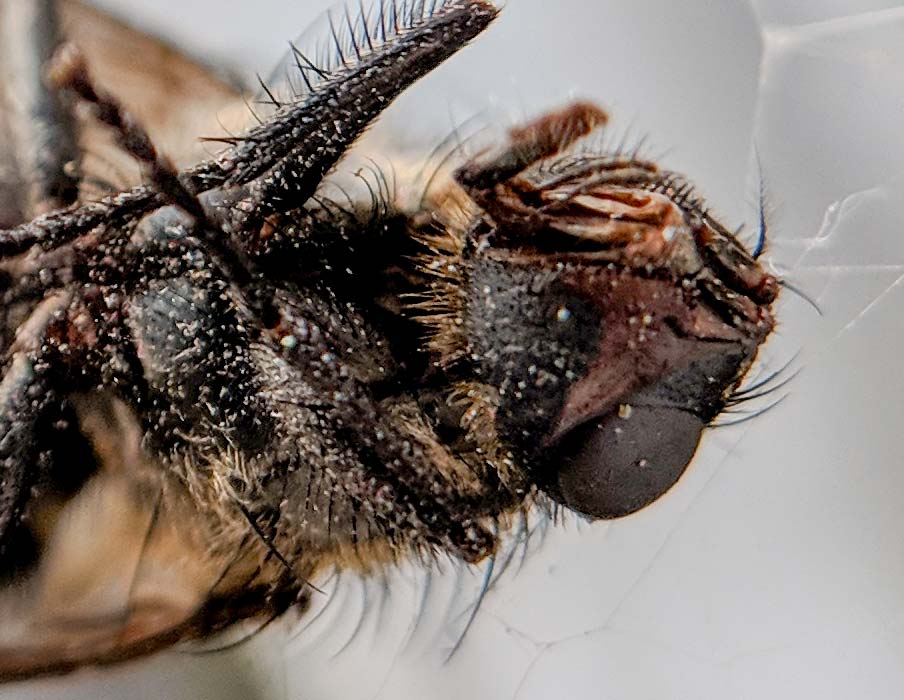
the second photo was taken with my google pixel 2 XL smartphone and the macro lens by → moment, freehand, everything automatic.
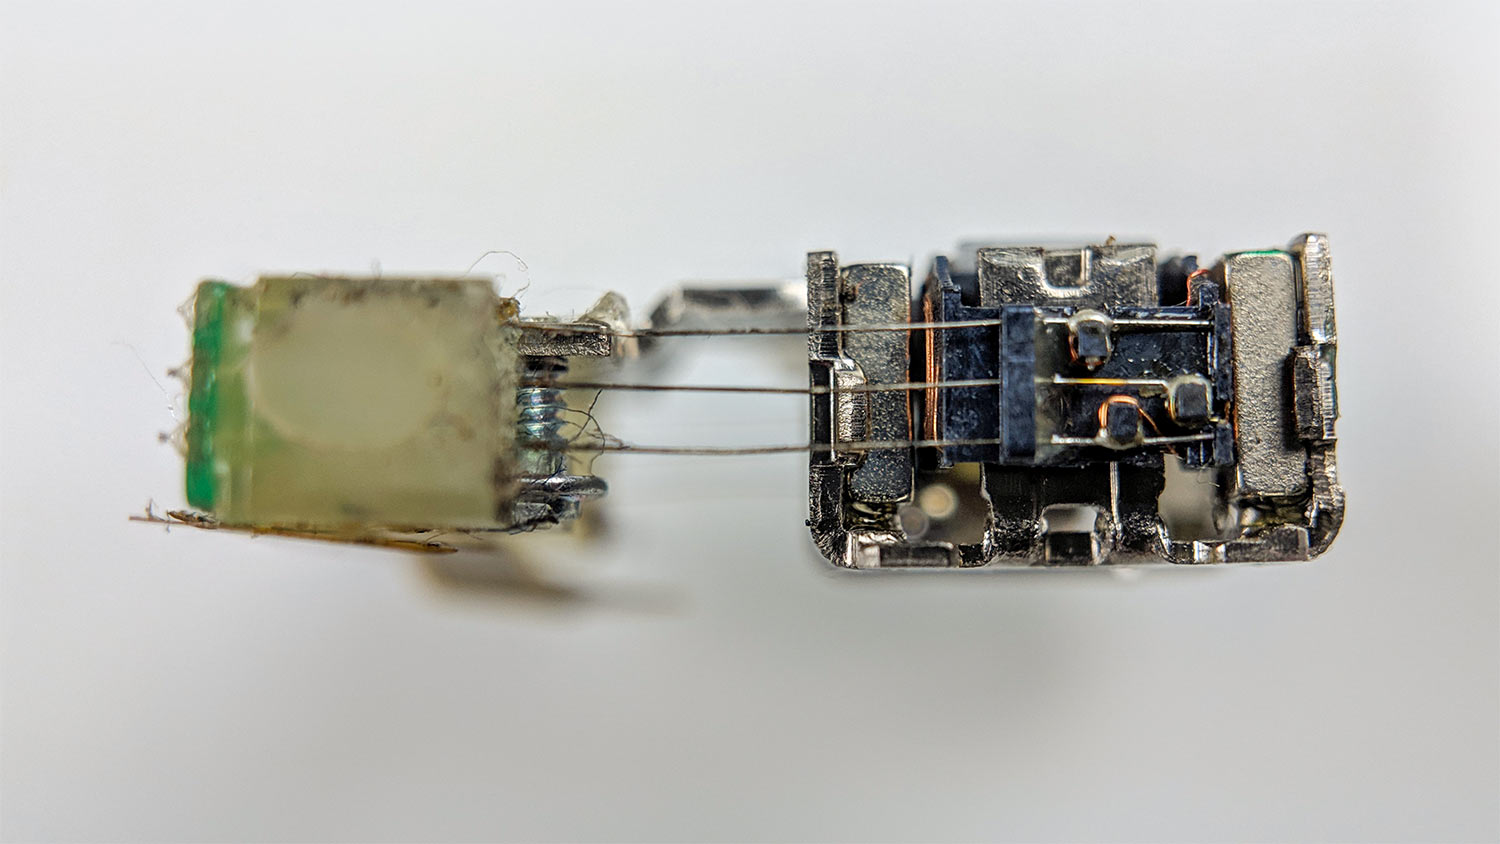
both photos are of more or less the same resolution. i did a little bit of cropping. the moment macro has a fixed distance where things are in focus, so it’s a matter of some trial and error to get what you want. and in the case of the record needle it was a bit tricky to get that close: 1.8 cm. the canon camera was about 20 cm away from the target.
1996 liefen im BR nur im dritten programm jingles. in anderen programmen, speziell im als seriösem wortprogramm vermarkteten B2, waren jingles gleichbedeutend mit abgeschmacktem formatradio der privatsender.
als die ersten CD-brenner herauskamen, fing ich in meinen montäglichen live-sendungen an, von so genannten “zuspielbändern” auf zuspiel-CDs umzustellen, um schneller reagieren zu können. ich war lange der einzige im sender, der diese technik nutzte, primär, um die takes nach der aktuellen stimmung in der sendung einzuspielen, statt der technikkollegin durch die scheibe zeichen fürs band-abfahren zu geben. die ersten CDs musste ich von einem toningenieur im BR “abnehmen” lassen, weil man sich nicht sicher war, ob diese scheiben auch sende-sicher waren. mein brenner kostete damals 3000 DM.
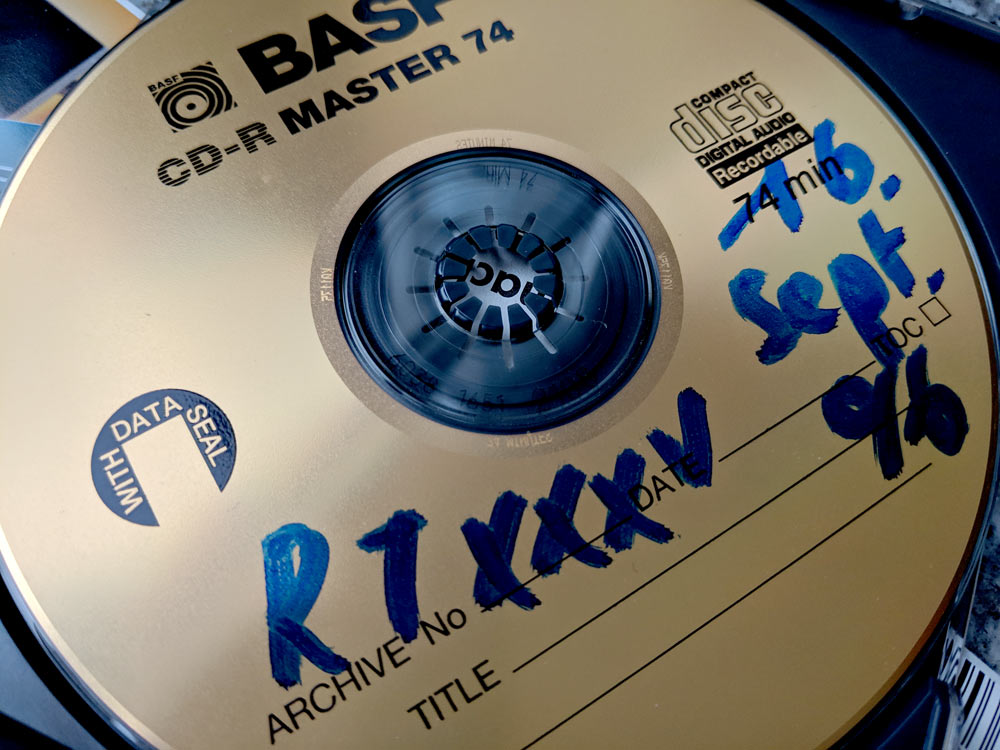
oben abgebildet ist eine meiner letzten solchen CDs, denn mitte der 1990er jahre war ich längst in köln und im deutschlandfunk tätig und flog nur noch alle zwei wochen nach münchen, um das zündfunk radiotop und das computermagazin → bit, byte, gebissen zu moderieren.
auf dieser selbst gebrannten CD versammle ich neben viele anderen tondelikatessen (wie dem original-thema von dallas oder einem interview mit → karl sims) jingles, die ich in der zeit zwischen den death-metal-nummern einspielte. sie waren bewusst naiv komponiert, um sich gegen die härte und geschwindigkeit der musik abzusetzen. hier sind vier davon hintereinander:
vier jingles, wie sie noch 1996 liefen
der erste, “zartgold”, ist im trance, mit einer schwebenden musik im hintergrund, gespielt auf meinem → yamaha SY 99. der zweite entstand mit dem BR-eigenen → akai S1000-sampler und besteht aus einer spielerischen mischung von rückwärts- mit vorwärts-lauten. im dritten jingle, der das zündfunk radiotop bewirbt, nutze ich einen kompressor auf dem mac verkehrt herum. auch dieser jingle klingt nach einen trip. der letzte, unterlegt mit einen synthetischen meeresrauschen hat folgenden text, den ich polyphon, eine oktave versetzt spreche: “die nördliche halbkugel kühlt ab. der planet heizt auf. die gene sprießen. der zündfunk sendet weiter.”
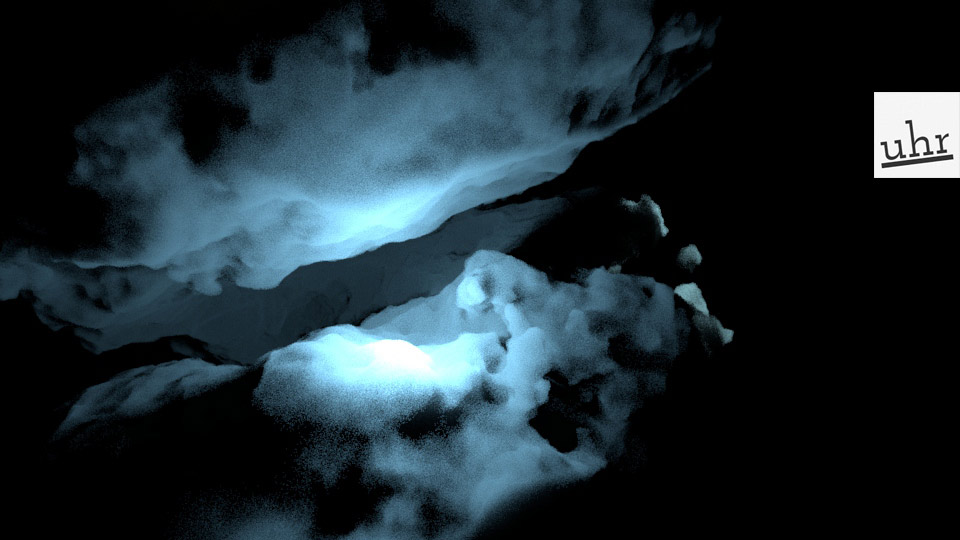
fundamental in der 3D computeranimation ist der unterschied zwischen einer 2D-textur, die quasi digital auf das 3D-objekt aufgeklebt wird, und einer 3D-textur, die einer projektion ähnelt; dabei lässt sich der effekt erzielen, das objekt durch die textur schwimmen zu lassen.
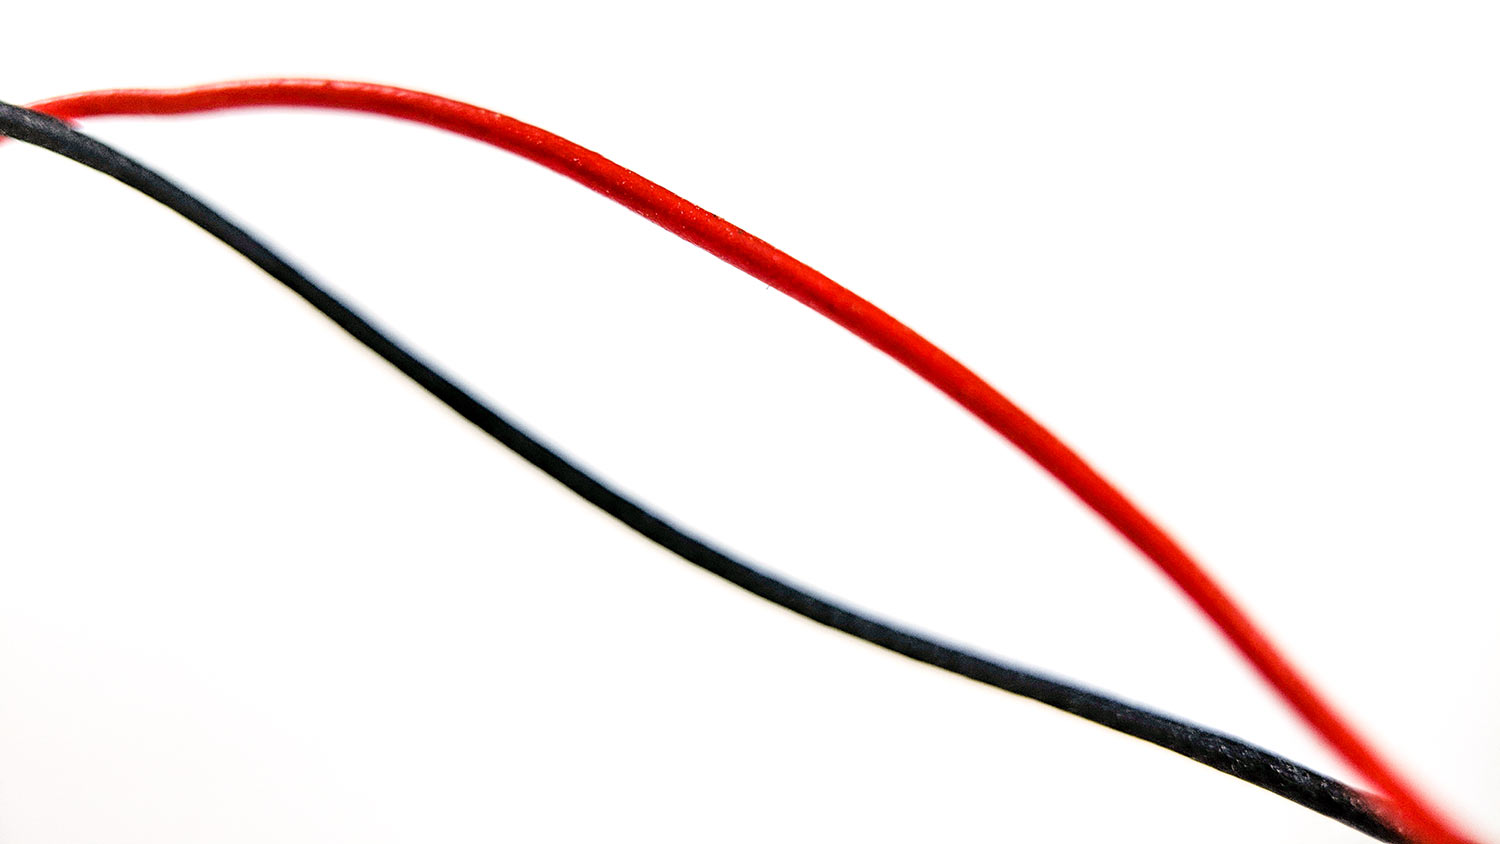
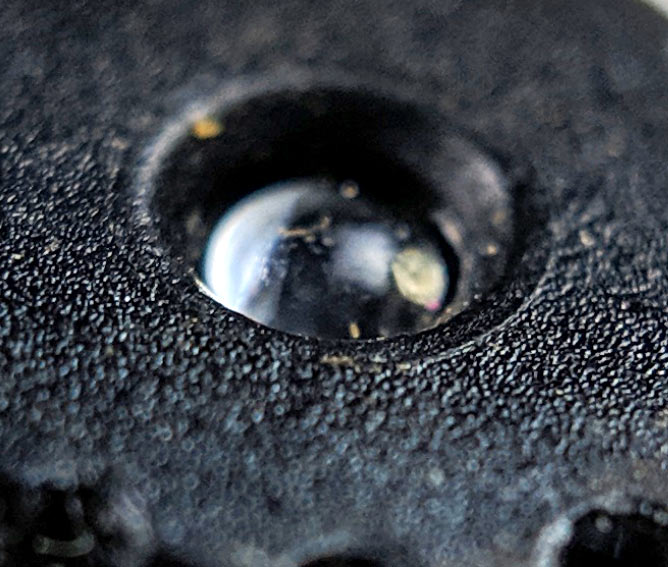
photographed with the → moment macro lens and the pixel 2 XL phone at the → wikipedia lokal K = the meeting place for people interested in wikipedia in cologne, germany.
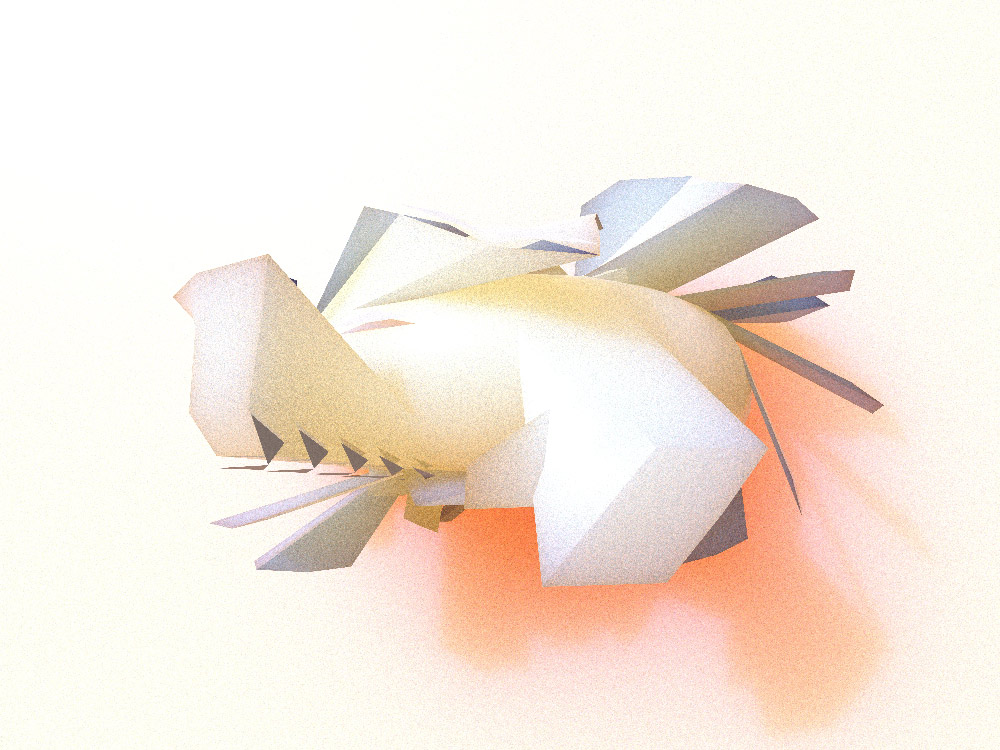
v-ray is a piece of software which renders computer generated 3D scenes in high quality with or without photorealism. it’s one of a handful high-end tools for this purpose. i’m familiar with another rendering software, → arnold, which has been integrated in the 3D computer animation package → maya. lots of my → tutorials in 3D involve arnold.
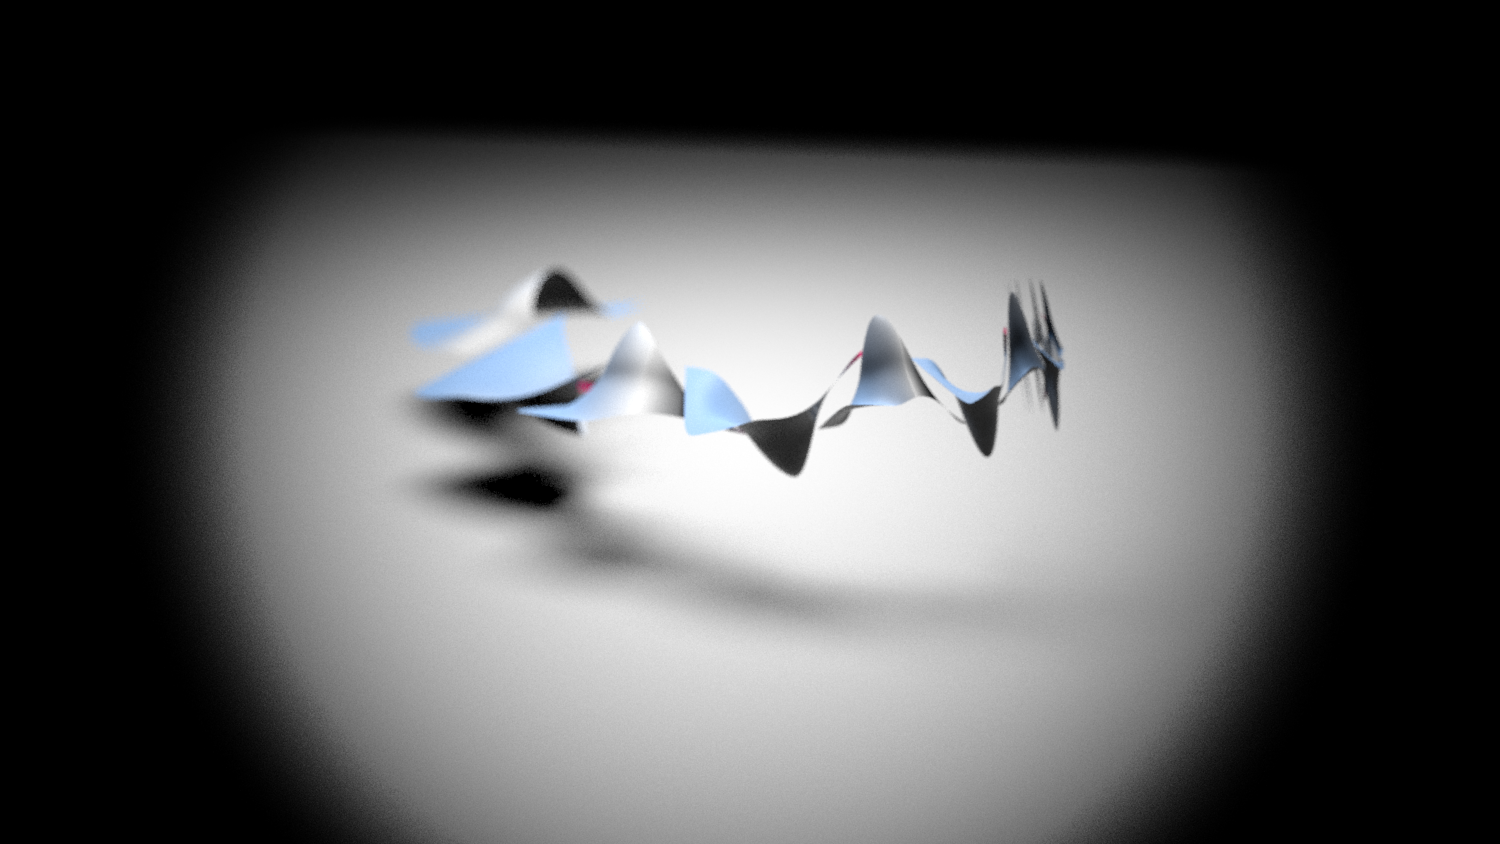
trivial looking computer generated scene
i installed the tryout version of → v-ray next the other day and did some preliminary tests. the scene above for example can be rendered in a short time with depth of field and other real camera properties such as ISO, shutter speed, bokeh and vignette. see the image below.
the scene rendered with v-ray
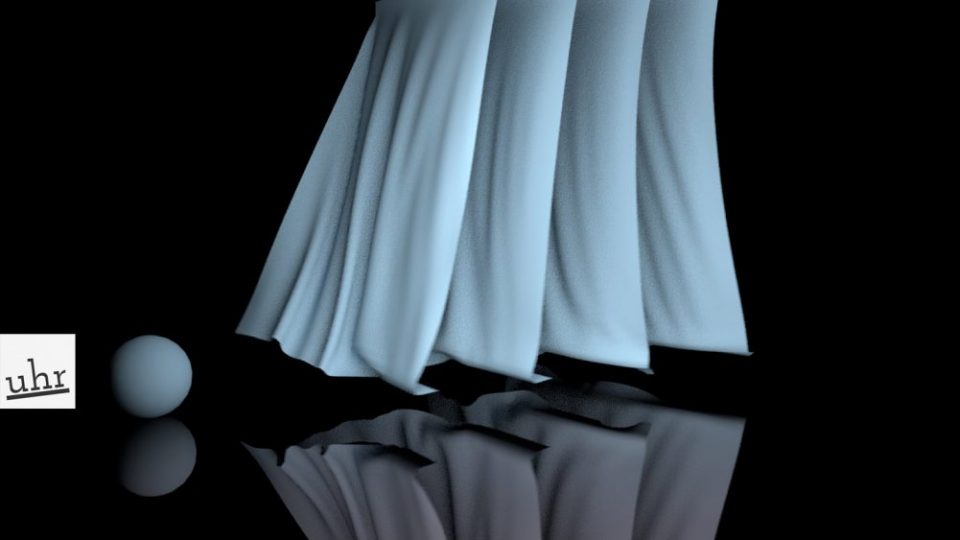
i have too little experience with this tool, so this is not a review. v-ray is well known in the industry and delivers excellent results. no doubt about that. i just want to point out two problematic things:
a) at one point i was not able to render a sequence of images – because my PC was offline. bugging me every moment when i launch a rendering job to go online in order to see if i have a valid license is a bit over the top. data privacy, friends!
b) the icons which come with the installment are, sorry to say this, terrible. below you see the main icon row in the maya shelf. they don’t stick to a colour space, they are not self explanatory. they beam me back to 1993 when the first browsers appeared, with more or less unuseable icons. i do not know why the chaos group who programmed v-ray spent so little time thinking about the importance of icons.
for the tutorial the ball at the very left is not important at all. i introduced it because i wanted to “ground” the reflections of the four curtains. without the sphere in the scene the floor would have been not as obvious as it is now.
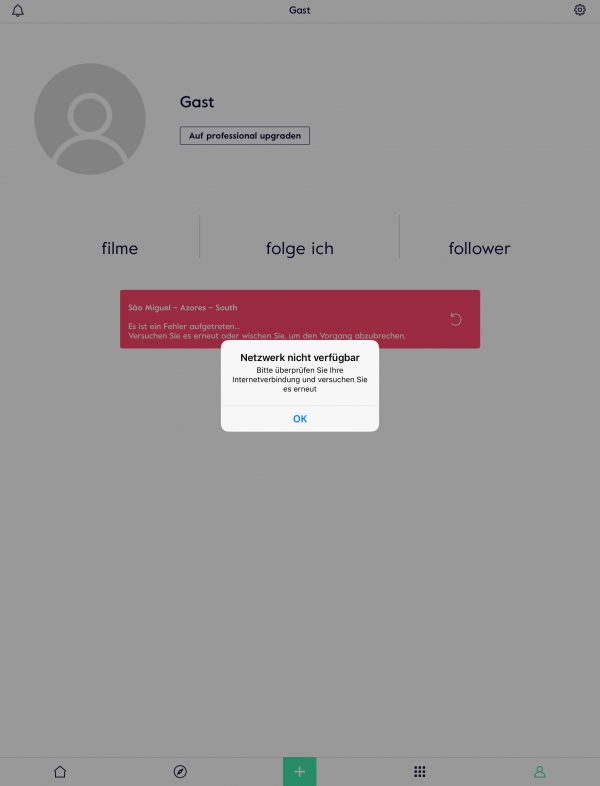
video editing is a matter of privacy. apps like iMovie respect this and allow all video editing procedures offline. that‘s how it should be.
the magisto film maker app is yet another example of an immoral, data hungry app which bluntly disrespects users‘ privacy. it refuses any video editing procedure or effect without being online and seeing what the user is doing. this is a no go, and apos like these should be marked with a big no.
second icon from the left deactivated when offline
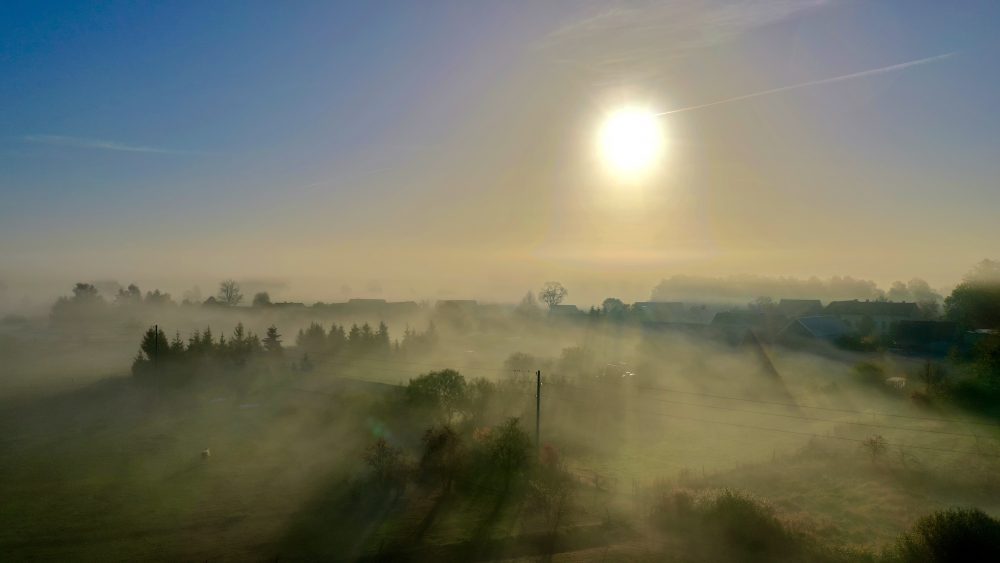
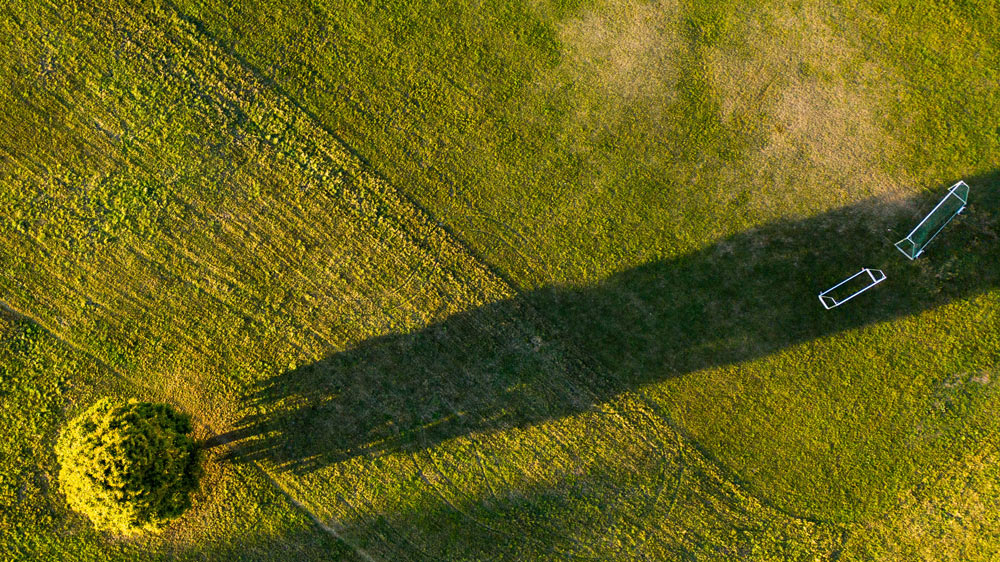
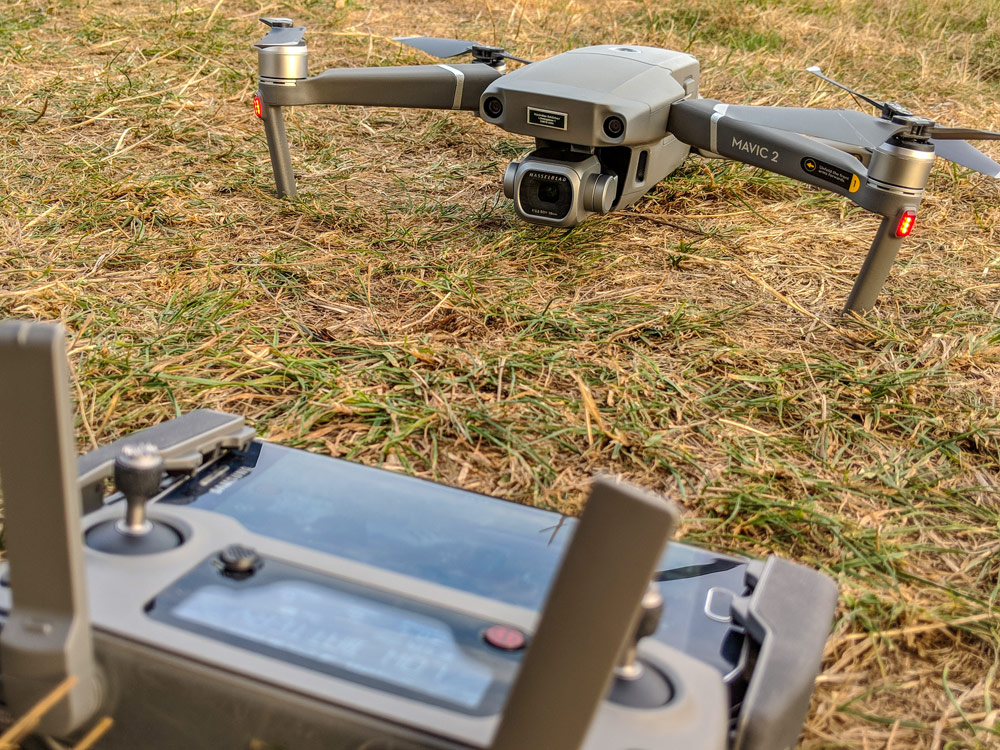
here are four quickshots i did on day 4 with the DJI mavic pro drone. all shots are the originals from the drone, not the (probably smaller, but accelerated) ones from the DJI Go 4 app. i used the default video settings with automatic white balance, exposure etc.
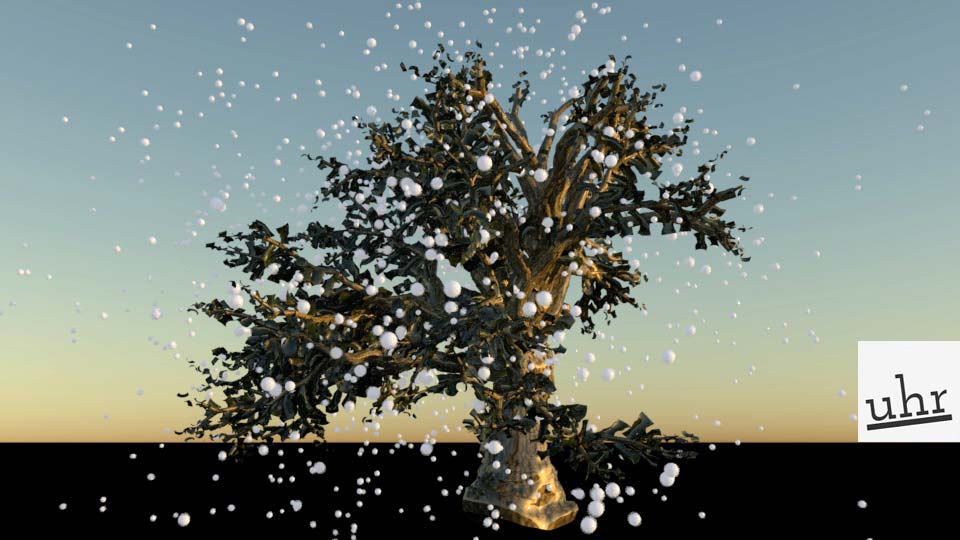
the first one is the circle. the drone had a problem locating the target (the tree) because it was looking for details which obviously disappeared when looking at the tree from a different angle. however, it did a perfect job.
circle mode around a tree
with the circle you are relatively safe in terms of close-by trees etc. the default circle keeps the mavic close to the target. the same applies to the next two quickshots, rocket and asteroid. the rocket mode shoots the drone up while still looking at the target. in this case the automatic white balance did unpredictable things (not DJI’s fault), and the tree is slightly out of the center of the video.
rocket mode, without acceleration
the dronie does not make much sense with a tree, but here we go. in the app it’s accelerated and looks certainly cooler.
dronie (= drone selfie) of a tree
i proceed to the asteroid shot, which has that white balance problem again:
the asteroid mode with included 360° stitching
finally the spiral, a very cool quickshot mode with the problem that i have no idea how to keep the spiral close to the target. i chose the smallest circle in the settings, 42 meters or so, which is quite a lot. i had the impression that the drone did fly an ellipse rather than a circle. so, use it with care!
spiral mode
what i don’t demonstrate here is the boomerang shot, because i’m not sure how it works. if the elliptic motion has its widest dimension behind the target rather than in front of the target, this might cause a crash problem. more later…
i finished the session with → this conventional autobahn shot which shows the excellent performance of the drone and the 1 inch sensor.
it’s been my third flight session, with only one battery, so restricted to slightly less than 30 minutes. i was still focussing on flight patterns rather than on the camera. the inflight videos were all of great quality. the shot after having landed safely has a ton of chromatic aberration. see below.
i flew all quickshot modes today, and they all did a great and very precise job. the spiral and boomerang are a bit irritating at first, because you have no control about the extension range of those kind of flight. and i still don’t know how to direct a boomerang ellipse into a special direction. imagine you’re climbing a cliff, you want to make sure the drone does fly away from the rocks rather than into them!
some modes give you extra options when you touch the icon again on the screen, others don’t, or they give you just rudimentary options like flying a pattern clock- or counterclockwise.
it’s nice to see that the drone comes back to it’s starting point once it has finished the quickshot flight. it does not repeat the flight, however. once the circle is finished, it is finished.
the videos are stored internally (on the internal 8 GB flashmemory bank or on the microSD card) in the original resolution, but the more interesting versions (in probably lower resolution) are sitting on your smartphone. example: all quickshots are accelerated in the smartphone version, whereas they playback in realtime when downloaded from the drone itself.
i’ve flown the mavic pro 1 for over a year and sold it to a man who uses it for flight only. he’s been a fan of radio controlled “model” airplanes since he was a kid, and he always wanted to fly a versatile, agile drone. he flew the mavic much more professional than i.
the more i get to know the automated flight modes, the more i know that flying the drone is cool and challenging, but much more interesting for me is taking precise videos and photographs for wikipedia and the german press agency dpa. so, the new automated flight modes plus the 360° obstacle detection come in extremely handy.
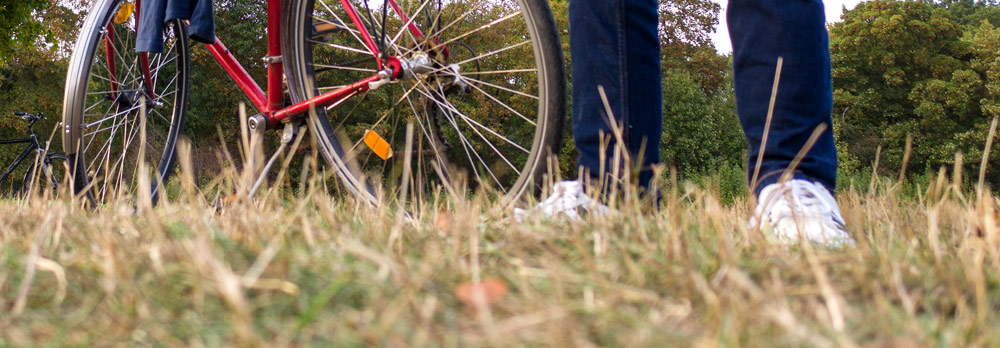
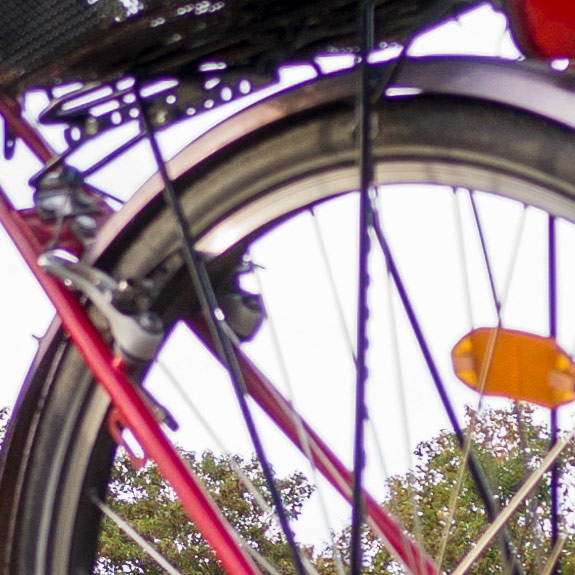
hasselblad at f 2.8
as to chromatic aberration: massive. there’s nothing lilac or pink on my bike. this detail is of 100% resolution: